
For many, the image of Snoopy’s signature red dog house evokes feelings of nostalgia and childhood joy. It’s more than just a shelter for the beloved beagle; it’s a symbol of imagination, adventure, and the simple pleasures of life. While recreating an exact replica might seem daunting, this guide offers a practical approach to building your own Snoopy-inspired dog house, perfect for adding a whimsical touch to your backyard or as a unique project to share with loved ones. This project is a testament to creativity, resourcefulness, and the rewarding experience of hands-on building, drawing inspiration from a beloved cartoon icon.
The journey to creating a Snoopy dog house is one of fun, learning, and a touch of creative problem-solving. This guide is designed not as a strict, step-by-step tutorial, but rather as a comprehensive overview of the process, offering insights and adaptable methods for anyone looking to embark on this charming DIY endeavor. Whether you’re a seasoned woodworker or a beginner eager to learn, this project can be adapted to your skill level.
Crafting the Foundation: The Base Frame
The initial stage of constructing any structure, including Snoopy’s iconic abode, is to establish a sturdy base frame. This foundational element ensures the integrity and longevity of the entire dog house. For this project, we focused on creating a robust rectangular base, employing readily available materials.
To begin, we meticulously cut wooden planks to specific dimensions to form the side walls. The measurements used were as follows:
- Four planks of 70x20x920mm for the main structure of the sides.
- Four planks of 40x20x790mm to further define the side wall dimensions.
- Four support studs, each measuring 35x20x658mm, were essential for reinforcing the frame.
Utilizing a drop saw and table saw, we ensured all planks were cut to precise sizes and had smooth, finished edges. The construction of the side walls involved joining these pieces with wood glue, followed by securely screwing them together. A key tip from our experience is to consistently check that all angles are perfectly square and to gently tap the planks into place to ensure they align seamlessly.
 Miss MonMon builds a Snoopy Inspired Dog House
Once the two rectangular side walls were constructed and all measurements were confirmed, we positioned them upright. The next step was to measure and cut the connecting beams that would bridge the gap between the two sides. These beams were glued and then screwed into place at both the top and bottom of the walls, providing crucial structural support. Clamps were used extensively to ensure a tight and secure fit during this phase. By the end of the first day, the fundamental base of the dog house was successfully completed. A valuable piece of advice: you can never have too many clamps on hand for projects like this.
Miss MonMon builds a Snoopy Inspired Dog House
Constructing the Iconic Roof
The roof of Snoopy’s house is a distinctive feature, and its construction can be one of the more engaging parts of the build. Our approach was to create a relatively flat top, suitable for staging a photoshoot, and designed to be detachable for easier transport. However, this design choice is entirely flexible. If portability or photo staging isn’t a primary concern, a traditional pitched roof would also be an excellent and potentially simpler alternative to construct.
To build our flat roof, we cut wooden planks into the following components for the top frame:
- Two planks of 50x30x1120mm for the longer sides of the frame.
- Two planks of 50x30x320mm for the shorter sides.
These were cut with 45-degree angles at the corners to form a tight, cohesive rectangle, measuring 1120x320mm. A rebate was incorporated into the frame pieces for added stability, as illustrated by our accompanying graphic.
Miss MonMon builds a Snoopy Inspired Dog House
For the main roof structure, we utilized a piece of plywood. The rafters, essential for supporting the roof’s form, were cut from wooden planks.
- Eight rafters, each measuring 70x30mm. The length varied: the longer side measured 445mm, and the shorter side measured 405mm, with an angled cut on one end.
Additional structural elements included:
- Four support braces, 90x8x700mm, made from plywood.
- Two end covers, 148x6x700mm, also from plywood.
- Two side pieces, LH and RH, measuring 1165x485x6mm, crafted from plywood.
Miss MonMon builds a Snoopy Inspired Dog House
We began by assembling the flat roof frame, ensuring the 45-degree cuts created a snug fit. The rebate feature was crucial for enhancing stability. The plywood was then fitted into this frame. To establish a consistent height for attaching the roof to the base, we added support blocks to the front and back edges of the base frame. From this guide, we attached the flat top frame. Next, the rafters were positioned and secured with glue and screws. Maintaining a level and square structure throughout this process was paramount. Further reinforcement was added with side support frames connecting opposing rafters, secured with glue and staples.
A helpful tip for ensuring symmetry is to tie a piece of twine across the center of your roof frame. Measuring outwards from this central line helps ensure all components are properly aligned.
For a detachable roof, a rear locating pin mechanism was incorporated. This involved adding a block to the join between the roof and the base, allowing a pin (in our case, a piece of rake handle) to slide into a pre-drilled hole for secure positioning. This prevents the roof from shifting when in use.
Adding the Walls: Completing the Structure
With the main skeleton of the dog house complete, it was time to enclose the structure by adding the walls. This stage brings the dog house closer to its recognizable form.
For the wall coverings, we used 6mm plywood cut to the following dimensions:
- Two pieces measuring 932x790mm for the main side walls.
- Two pieces measuring 712x790mm for the front and back walls.
- One piece of plywood, 1165x315mm, for the top roof covering.
- Four filler pieces, 43x20x790mm, to bridge any gaps in the frame.
To ensure the walls attached as securely as possible, we first affixed the filler pieces onto the frame, particularly at the corner joints. These pieces were glued and screwed into place, providing a flush surface for the wall panels to adhere to, maximizing contact and stability. Once the frame was prepared, wood glue was applied to the edges of the wall panels where they would meet the frame. The panels were then carefully placed and secured with a staple gun. All four side walls were attached in this manner.
Miss MonMon builds a Snoopy Inspired Dog House
We then proceeded to attach the plywood sections that form the roof’s outer layer. If your design does not involve a detachable roof, these pieces can be integrated into the main front and back wall structures. The walls were left overnight to dry thoroughly, ensuring they were stable and securely fixed.
Following the wall attachment, we used a gap filler to smooth over any holes, dents, or rough areas. Once the filler had dried, it was sanded down to create a perfectly smooth surface across all the walls. This attention to detail is key to achieving a professional finish.
Miss MonMon builds a Snoopy Inspired Dog House
The Finishing Touches: Priming and Painting
With the main construction complete, the final stages involve preparing the surface and applying paint to bring Snoopy’s iconic dog house to life. This is where the structure truly begins to resemble the beloved cartoon character’s abode.
The entire structure was first covered with two coats of primer, with light sanding between each coat. This step is crucial for ensuring the paint adheres well and provides a uniform base for the vibrant colors to come.
Miss MonMon builds a Snoopy Inspired Dog House
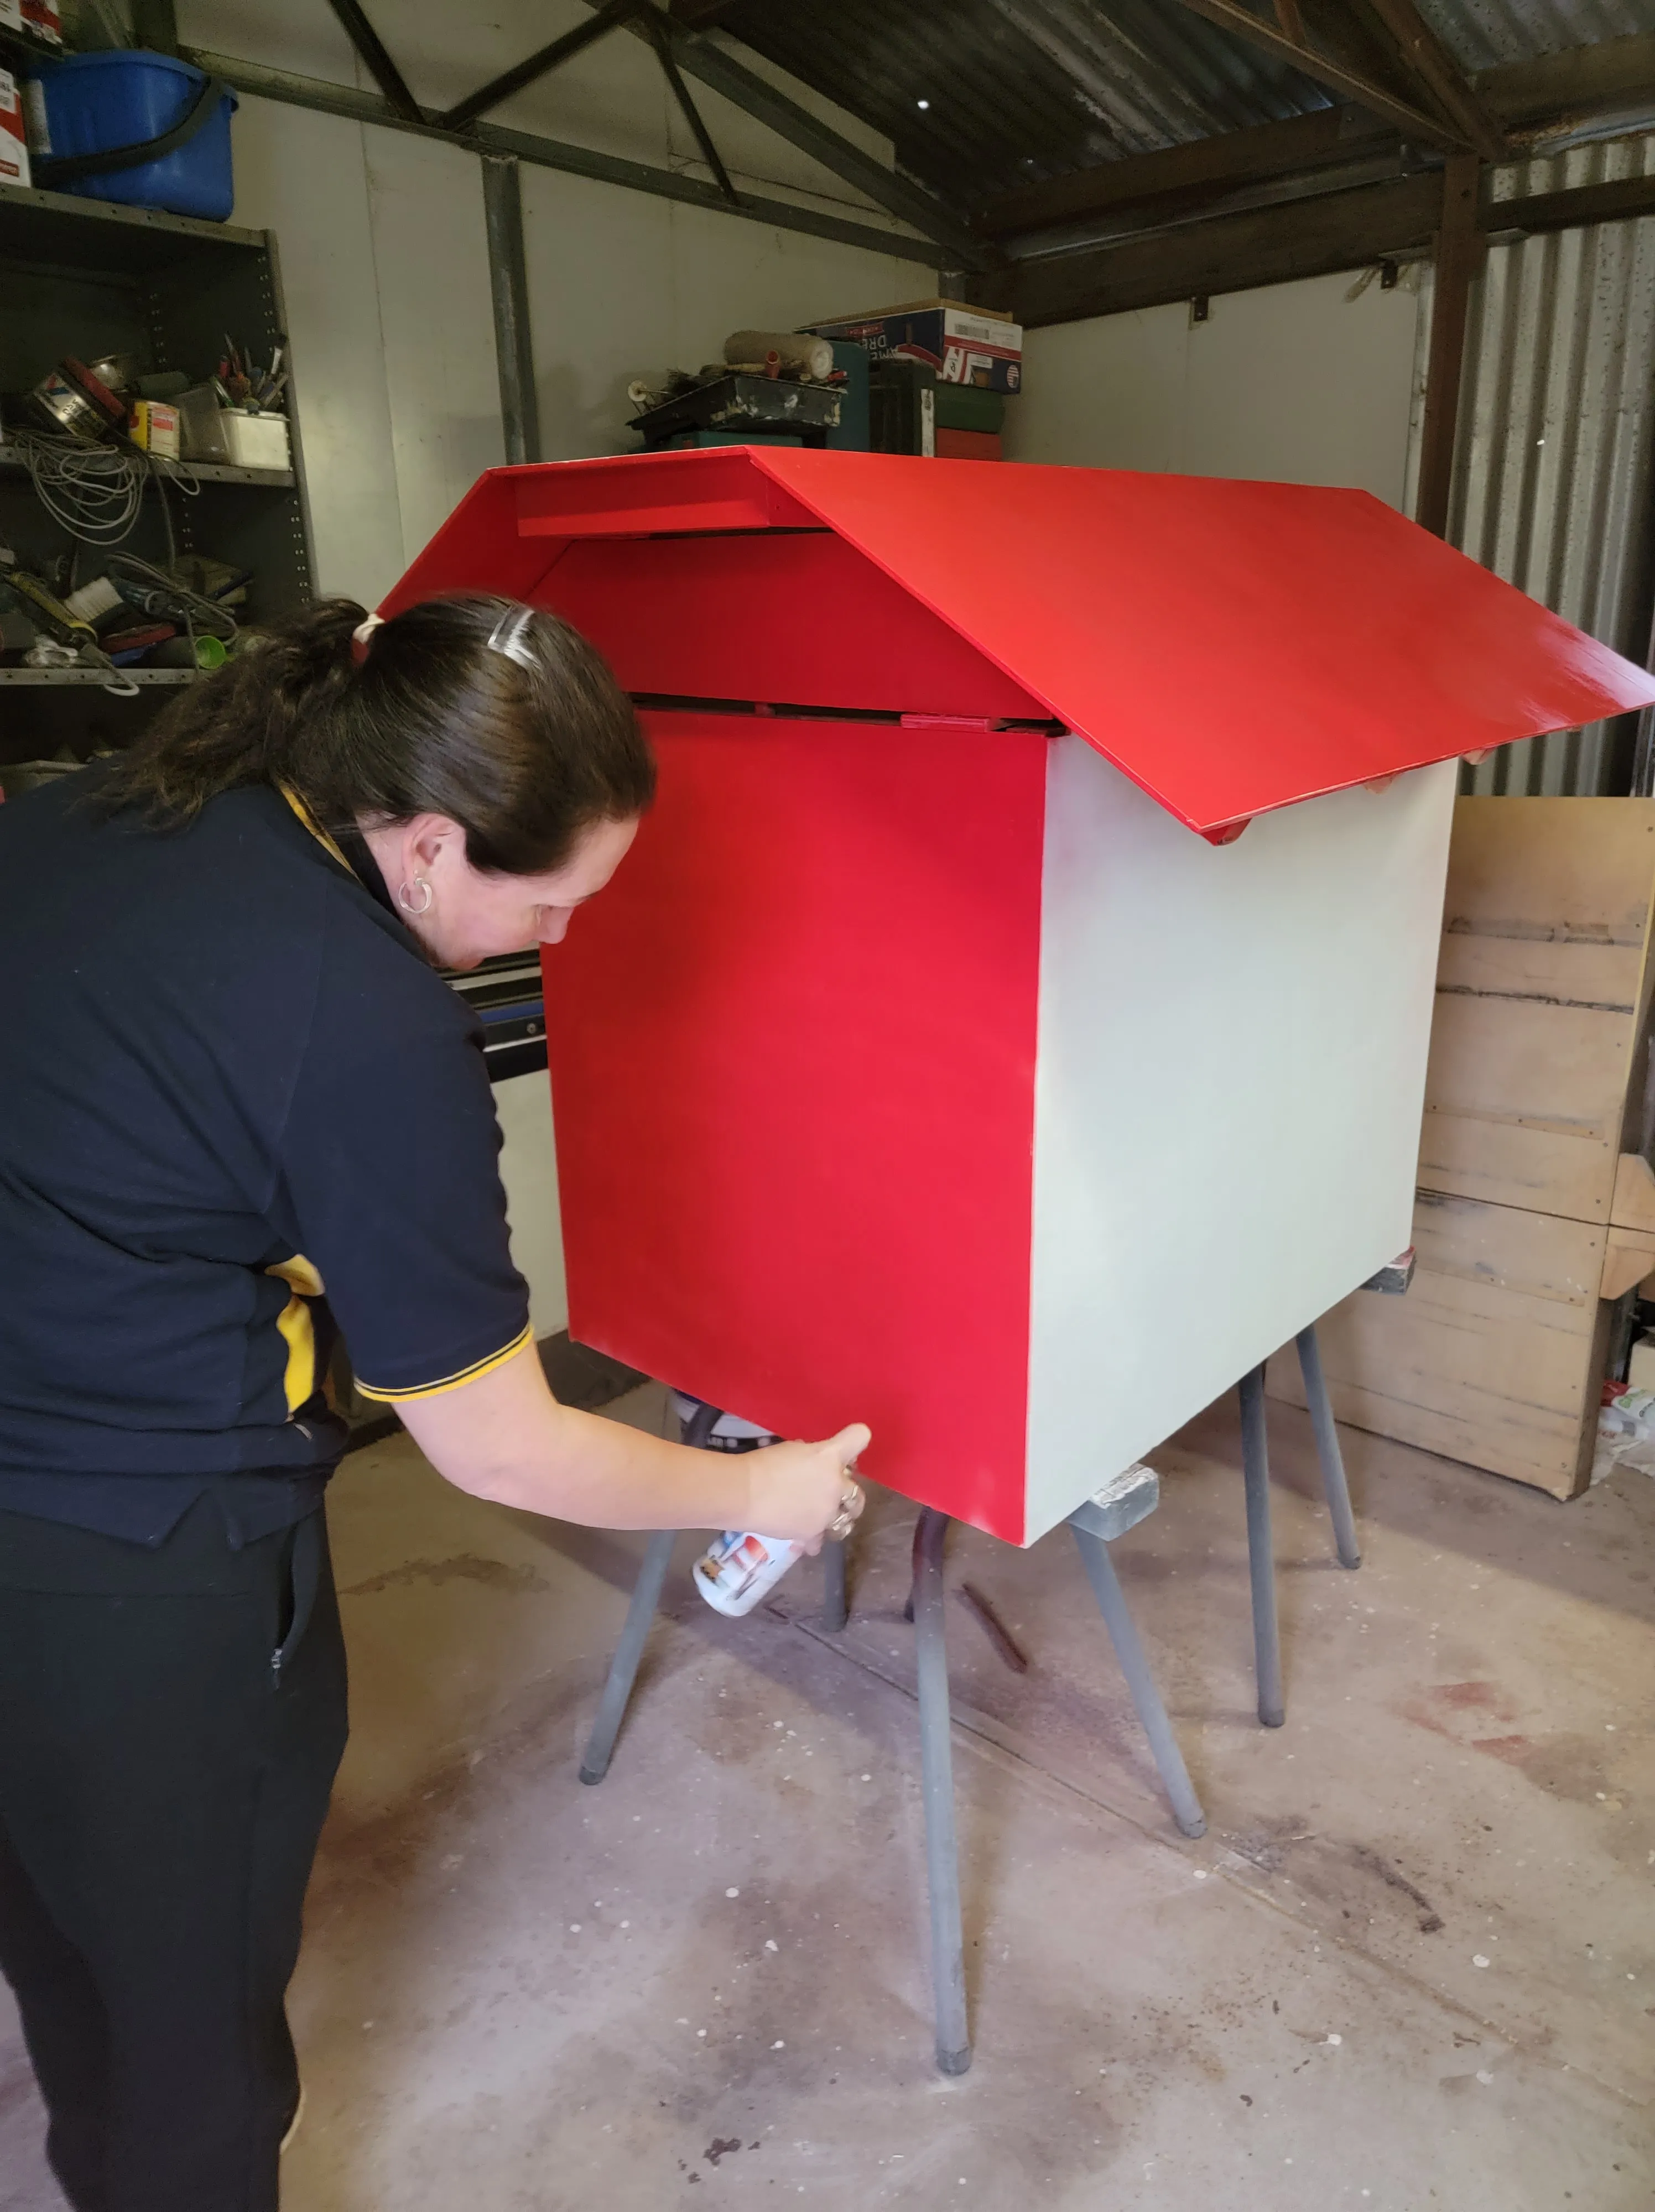
The moment arrived to paint the dog house its signature bright red. Using spray paint, we applied approximately two coats. While we achieved a bold and vibrant finish, a couple of extra cans might have been beneficial for achieving complete coverage and eliminating any minor bald spots. To complete the iconic look, a black “door” was then painted onto the front, instantly evoking Snoopy’s familiar home.
Miss MonMon builds a Snoopy Inspired Dog House
This project was an incredibly rewarding and enjoyable experience, despite its challenges. It involved considerable problem-solving, numerous cups of tea, and a generous amount of wood glue. The collaborative effort of building with a loved one and the satisfaction of creating something tangible are unparalleled. It’s a fantastic way to learn new skills, foster creativity, and create lasting memories.
Looking back, a few minor adjustments could be considered for future builds, such as slightly narrowing the frame or reducing the roof’s length. However, for a first attempt with no prior guide, the result is exceptionally pleasing. The addition of painted panel lines could further enhance the resemblance to the wooden panels of Snoopy’s original house. Incorporating Snoopy’s name above the doggy door would also be a charming detail.
Overall, the creation of Snoopy’s dog house was a resounding success. It stood out vibrantly during our photoshoot, and the resulting images captured its playful charm perfectly. The most valuable aspect of this project was the quality time spent building and learning alongside a loved one. We highly encourage anyone to embrace challenges and acquire new skills; it’s often easier said than done, but the sense of accomplishment derived from creating something new is immensely fulfilling. Embarking on this woodworking project, despite initial unfamiliarity with the tools and potential allergens like sawdust, was a testament to the ability to learn and create. These newfound woodworking skills can be invaluable for future creative endeavors.