
Welcome to the magical world of Schleich horses, where intricate, hand-painted models become the heroes of incredible adventures. If you’ve ever looked at your collection and imagined them gracefully clearing a jump or executing a perfect dressage pattern, you’ve already discovered the core idea of a Schleich Trained Horse. This isn’t about a specific toy you can buy off the shelf; it’s about unlocking a new level of imaginative play, creativity, and storytelling with the models you already love.
Training your Schleich horse is about bringing your equestrian dreams to life in miniature form. It’s a rewarding hobby that blends creativity with a passion for horses, allowing you to build entire worlds, craft custom equipment, and tell compelling stories. Whether you’re just starting or looking to expand your stable’s activities, this guide will walk you through everything you need to know to transform your models into champions.
What is a Schleich Trained Horse?
In the collector and hobbyist community, a “trained” Schleich horse refers to a model used for more than just display. It’s a character in a story, an athlete in a discipline, and a partner in imaginative adventures. This “training” happens in your imagination and is brought to life through creative setups, custom accessories, and detailed storytelling.
You can train your horses in any discipline you can dream of. Popular choices include:
- Show Jumping: Setting up courses with colorful jumps and obstacles.
- Dressage: Creating a miniature arena to practice elegant, precise movements.
- Barrel Racing: Crafting barrels and timing your horse’s thrilling turns.
- Cross-Country: Using natural elements like twigs and rocks to build a challenging outdoor course.
- Trail Riding: Simply enjoying a leisurely ride through a diorama landscape.
The beauty of this hobby is its limitless potential. Your horse can be a rescued underdog that becomes a champion or a steady schoolmaster teaching new riders the ropes.
 A beautifully detailed Schleich trained horse in a miniature show jumping arena, clearing a colorful jump with a rider on its back.
Creating Your Training Arena and Equipment
You don’t need expensive gear to start training your Schleich horse. With a few common household items and a dash of creativity, you can build a full suite of training equipment. This DIY approach is not only fun but also makes your setup completely unique.
DIY Show Jumps
Creating your own jumps is one of the easiest ways to start.
- Standards (the side posts): Use LEGOs, Jenga blocks, painted popsicle sticks, or even sturdy twigs. Glue them to a small, flat base like a piece of cardboard or a bottle cap to keep them stable.
- Poles: Colorful drinking straws, painted skewers (with sharp points removed), or small dowels work perfectly.
- Fillers: Get creative with fillers that go under the poles. You can build small walls from painted cardboard, create a “water jump” with blue craft foam, or make brush boxes by gluing artificial plant clippings to a small box.
Essential Arena Gear
- Dressage Arena: Use white ribbon or strips of paper laid out in a rectangle on the floor or a piece of cardboard to define your arena. You can even print out miniature dressage letters to place around the perimeter for added realism.
- Barrels: Empty thread spools, painted bottle caps, or small wooden craft barrels are ideal for setting up a barrel racing pattern.
- Cones and Poles: Use beads, small pieces of modeling clay, or painted pebbles as training cones for weaving exercises.
“The act of building a miniature training world for a model horse does more than just entertain; it fosters problem-solving skills, encourages artistic expression, and deepens a child’s or hobbyist’s understanding of real equestrian sports,” says Dr. Evelyn Reed, a child development specialist and lifelong model horse enthusiast.
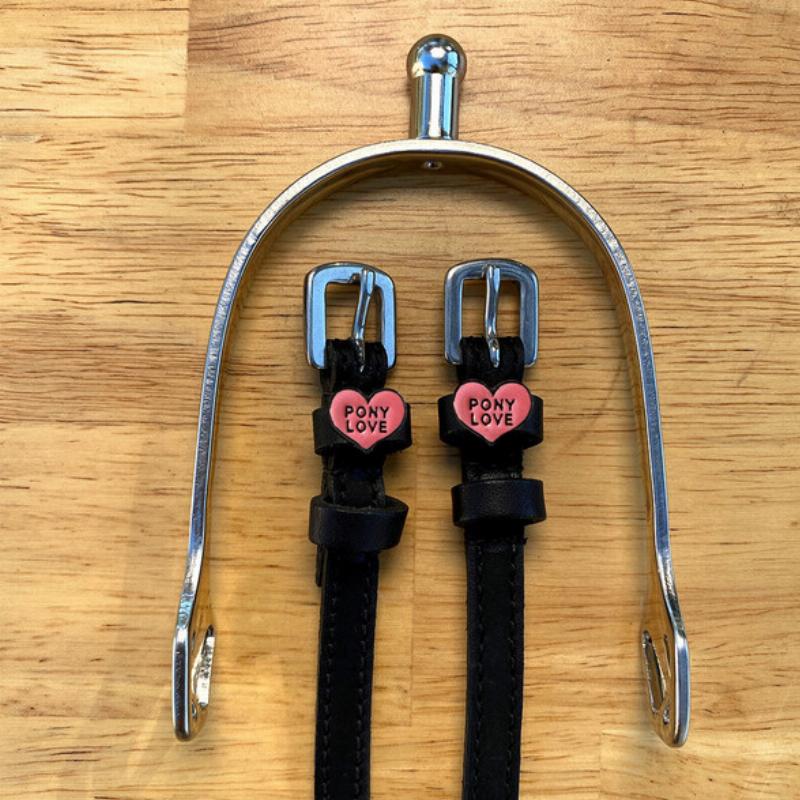
The Art of Custom Tack and Accessories
Taking your imaginative play to the next level often involves custom tack. While Schleich offers official accessory sets, the hobbyist community thrives on creating handmade gear. This allows you to personalize your horse’s look and tailor it to their specific “training” discipline.
Making Your Own Tack
Making tack requires patience and a delicate touch, but the results are incredibly rewarding. Common materials include:
- Ribbon: Thin ribbon (2-3mm) is the go-to material for halters, bridles, saddle pads, and blankets.
- Felt or Craft Foam: These are perfect for crafting the base of a saddle or a colorful saddle pad.
- Wire and Jump Rings: Jewelry-making supplies like thin wire and small jump rings are essential for creating realistic buckles, bits, and stirrups.
Starter Tack-Making Projects
- Simple Ribbon Halter: This is a great first project. You’ll need a short piece of ribbon, a jump ring, and fabric glue. By creating a few simple loops for the noseband and headstall, you can fashion a custom-fit halter.
- Felt Saddle Pad: Trace the shape of your Schleich saddle onto a piece of felt, cut it out, and you have an instant custom pad. You can even add ribbon trim for a professional look.
- No-Sew Blanket: Cut a rectangle of fleece or felt, drape it over your horse, and use a longer piece of ribbon to tie it loosely around the middle like a surcingle.
 A close-up shot of a Schleich horse wearing detailed, handmade tack, including a leather-look bridle and a tiny saddle pad.
Storytelling and Photography
Once your Schleich trained horse has the gear and the arena, it’s time to bring their stories to life. This is where the magic truly happens. Create a personality for your horse and rider. Are they training for the biggest competition of the year? Are they overcoming a fear? Or are they just enjoying a beautiful day together?
Photography is a fantastic way to capture these stories. You don’t need a fancy camera; a smartphone works just fine.
Tips for Great Model Horse Photos:
- Get on Their Level: Shoot from a low angle to make the models look life-sized.
- Use Natural Light: Outdoor, natural light is the most flattering. An overcast day is perfect for avoiding harsh shadows.
- Mind the Background: Create a realistic background. Take your models outside and use grass, dirt, and leaves as your setting. Inside, use a diorama or a simple, uncluttered backdrop.
- Tell a Story: Pose your horses and riders in action. Show them mid-jump, trotting into the arena, or cooling down after a long ride.
Sharing your photos and stories with the online community on platforms like Instagram and YouTube is a wonderful way to connect with other hobbyists, share ideas, and find inspiration for your next adventure.
Frequently Asked Questions (FAQ)
How do I start customizing a Schleich horse?
Customizing the model itself (repainting or resculpting) is a more advanced part of the hobby. A great way to start personalizing is by creating custom tack like blankets and halters, which doesn’t alter the model itself.
What scale are Schleich horses?
Schleich horses are approximately 1:24 scale, though this can vary slightly between models. When making accessories, it’s more important to fit them to your specific model than to adhere to a strict scale.
Where can I find tutorials for making tack?
YouTube is the best resource for visual learners. Many talented hobbyists share detailed, step-by-step tutorials on how to make everything from simple halters to complex racing saddles.
Can Schleich horses be used in model horse shows?
Absolutely! While some shows are specifically for larger brands like Breyer, many local and online “photo shows” welcome all brands, including Schleich. In these shows, models are judged on realism and conformation, just like real horses.
What are the best materials for a beginner tack maker?
Start with the basics: thin ribbon, craft felt, fabric glue (or a hot glue gun for older crafters), and sharp scissors. These materials are inexpensive and versatile enough for many beginner projects.
Your Equestrian Adventure Awaits
The world of the Schleich trained horse is a gateway to endless creativity, storytelling, and fun. It’s a hobby that grows with you, offering new challenges and rewards at every turn. By building your own training scenes and crafting custom accessories, you create a deeper connection to your collection and bring your equestrian dreams to life in a wonderfully tangible way. So, pick a horse from your stable, decide on a discipline, and let the training begin.