
Watching dogs in AKC Rally or Obedience competitions remain perfectly still amid distractions is impressive. But mastering how to teach your dog to stay isn’t just for sports—it’s essential for everyday obedience and good manners at home. A reliable stay command makes tasks like grooming, answering the door, or unloading groceries much simpler. If your dog struggles to hold a sit or down position until released, follow these proven steps patiently for champion-level results.
For more basic obedience skills that complement stay training, check out our guide on teaching a dog to walk on a leash without pulling.
Understanding Stay vs. Wait and the Release Cue
The “stay” command requires your dog to maintain a specific position—like sit or down—until you give a release word. Unlike “wait,” which signals a brief pause, stay demands endurance, even if you’re away briefly. Technically, your dog should remain in place upon return, regardless of time elapsed.
A release cue, such as “okay,” “free,” or “release,” signals the end of the behavior. Use it consistently across commands to build an automatic stay into sits or downs. Avoid casual words like “okay” in daily talk to prevent accidental releases.
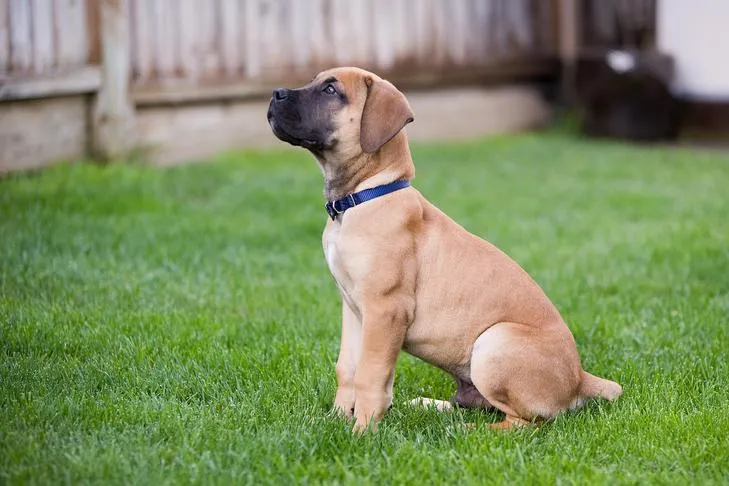 Boerboel puppy sitting in profile in the backyard
Teach the Release Cue First: Start Small
Build a strong foundation by introducing the release early. Begin in a quiet space:
- Command your dog to sit or lie down.
- After one second, offer a treat while saying the release word calmly.
- Encourage movement—pat your legs or step away—to prompt them up.
- Praise enthusiastically once they move.
- Repeat until they reliably respond to the release by breaking position.
This establishes that release means “you’re free,” setting up successful stays.
Building Duration: The First “D”
With release mastered, incorporate the “stay” cue and hand signal (palm out like a stop sign). Focus on duration first, staying close and minimizing distractions. Progress gradually:
- Ask for sit or down, then say “stay” with the hand signal.
- Wait 1-2 seconds, treat, and release.
- Increase hold time incrementally.
- At 10+ seconds, treat intermittently during the stay, repeating the cue and signal.
Reward the stay itself, not the release, to keep them motivated—stay can feel boring otherwise. Use baby steps to avoid self-releasing, ensuring high success rates.
If using clicker training, click during the stay, then cue again before treating. For related household manners, see how to get dog to stop jumping on couch.
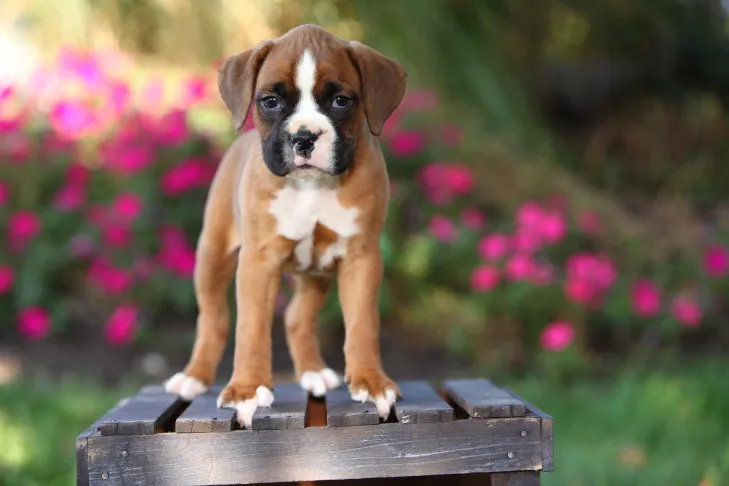 Boxer puppy standing on top of a wood crate outdoors with flowers in the background.
Troubleshooting Common Stay Issues
Body language matters—avoid luring with movement, as dogs follow backward steps instinctively. If they break early, don’t punish; reset criteria and rebuild from a prior success level.
Introducing Distractions and Distance
Master 30-second stays before adding distractions or distance. Introduce one “D” at a time, reducing expectations for others. For distractions:
- Start mild (clapping), build to toys like a ball.
- Shorten duration initially, then extend.
For distance:
- Say “stay,” step back once, return to treat.
- Increase steps gradually.
- Always return before releasing to reward properly.
Combine all three Ds slowly—test in new rooms or outdoors. Patience yields a rock-solid stay.
Enhance outdoor reliability with tips on how to train your dog to live outside.
Explore more leash manners in teach a dog to walk on a leash without pulling.
Final Tips for Lasting Success
Consistency, positive reinforcement, and gradual progression are key to teaching your dog to stay reliably. Reward generously during holds, use clear cues, and practice daily in varied settings. Soon, your dog will stay through chaos, boosting safety and harmony at home.
Ready to elevate your dog’s obedience? Visit Dog Care Story for personalized training advice or contact our experts today.
References
- AKC Rally
- AKC Obedience
- Teach Sit
- Teach Down
- Three Ds of Dog Training
- Dog Treats
- Training Rewards
- Clicker Training