Living with Type 1 Diabetes, a chronic condition where the pancreas produces little to no insulin, requires constant vigilance over blood sugar levels. While modern technology like insulin pumps and continuous glucose monitors (CGMs) has significantly improved management, these tools can sometimes have flaws, leading to false readings or equipment malfunctions. Such instances can be stressful, prompting many to explore additional reliable support. This guide will walk you through how to train your dog for diabetic alert, offering a complementary layer of safety and peace of mind.
Dogs possess an extraordinary sense of smell, far surpassing humans, with a part of their brain dedicated to analyzing scents estimated to be about 40 times more powerful. This incredible ability makes them ideal candidates for becoming service dogs trained to detect subtle changes in scent associated with low blood sugar episodes. Research indicates that these specialized dogs are highly successful, often detecting the onset of an episode 15-30 minutes before symptoms become apparent or even before blood glucose meters register a change. For those considering the question, “can i train my own diabetic alert dog” the answer is yes, with patience and consistent effort. While purchasing a pre-trained service dog can be costly, training your own puppy can be a rewarding journey, typically taking six months to a year depending on the dog’s eagerness to learn and your commitment to training. The cornerstone of this process is positive reinforcement and unwavering patience.
The Training Process: From Scent to Signal
The steps involved in training your dog to become a diabetic alert companion are straightforward and build upon each other, focusing on scent recognition and association.
Step 1: Collect a Saliva Sample
Begin by having the diabetic individual provide a low blood sugar saliva sample (ideally around 70 mg/dL). Collect this sample on a few cotton balls. This scent will be the primary target for your dog’s training.
Step 2: Prepare the Scent Presentation
Place the cotton balls with the low blood sugar sample into a bowl. To prevent your puppy from eating the samples while still allowing the scent to emanate, cover the bowl with a mesh colander.
Step 3: Introduce the Scent
Present the prepared bowl to your puppy. Allow them to approach and sniff the colander, becoming familiar with the specific low blood sugar scent. This initial exposure is crucial for establishing the scent memory.
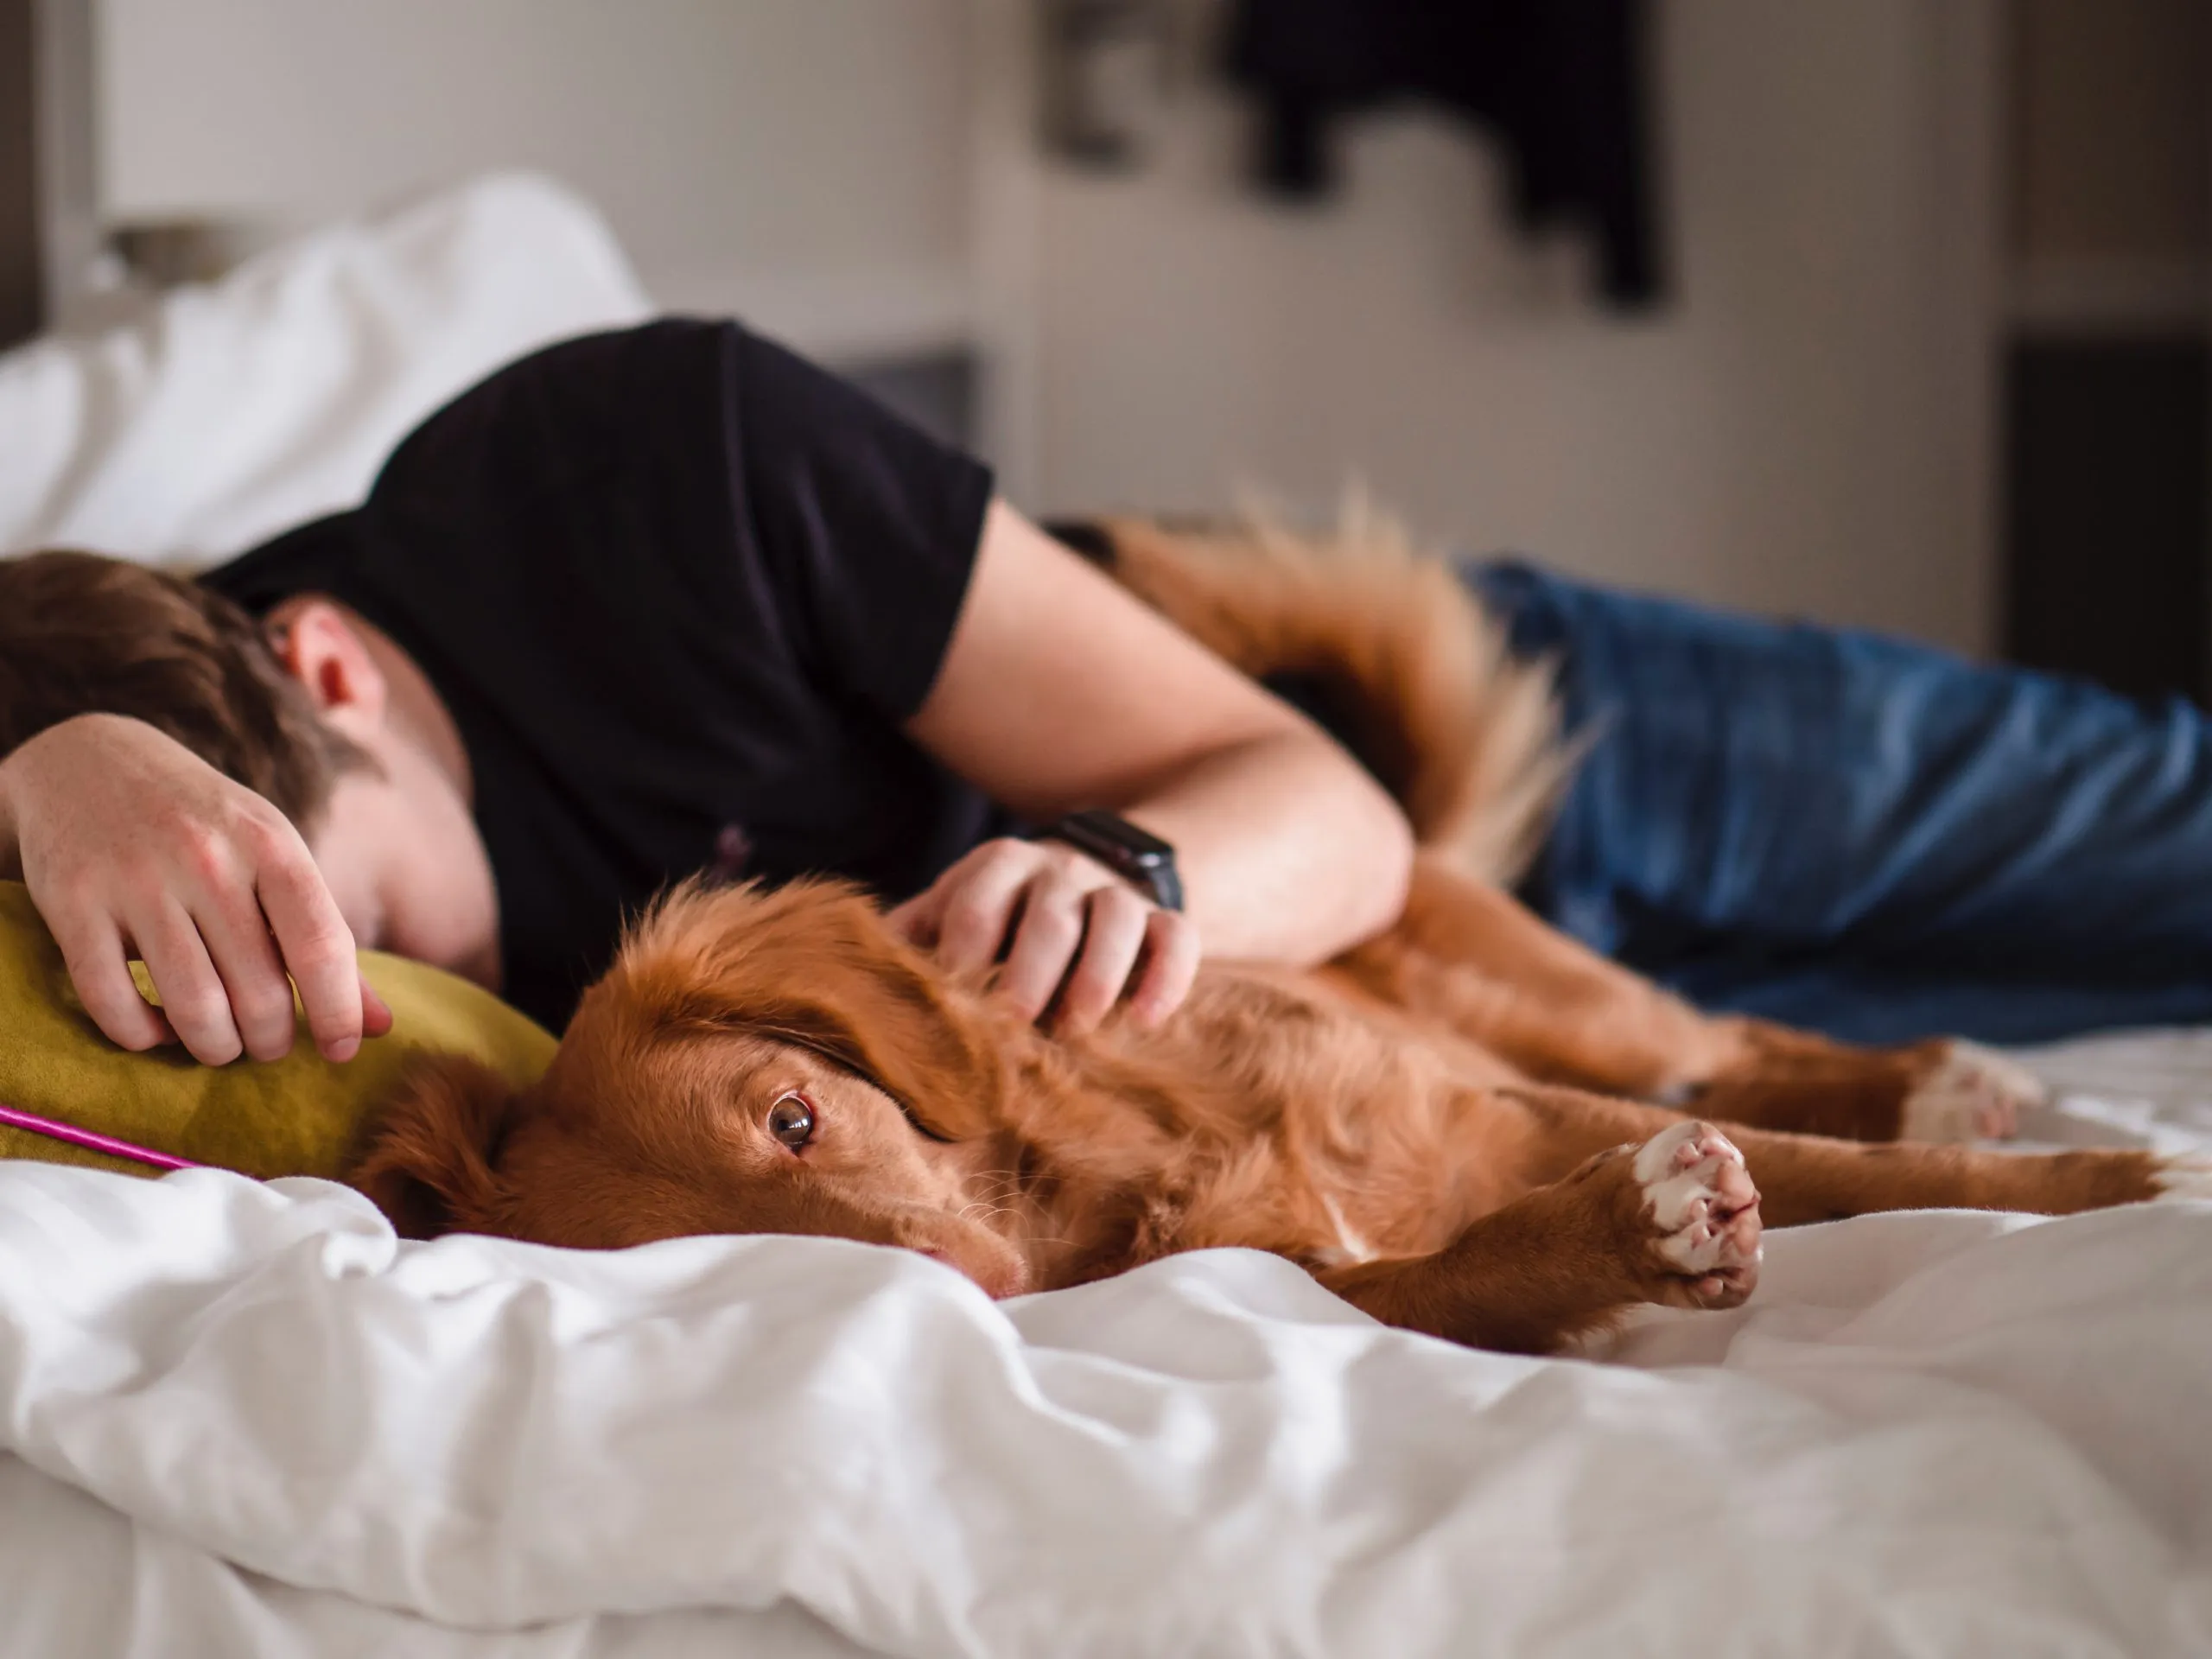
 Man laying in bed with his dog, who is likely a diabetic alert dog, providing comfort and companionship.
Step 4: Reward Scent Engagement
When your puppy investigates the colander and actively smells the scent, immediately offer a high-value food treat directly into the colander. This creates a strong positive association between detecting the specific scent and receiving a reward.
Step 5: Practice Scent Locating
As your puppy becomes more adept at recognizing the scent, start moving the bowl to different locations within the same room. Encourage your puppy to find the bowl, rewarding them with a treat when they successfully locate and sniff the scent. This helps develop their ability to actively search for the odor.
Step 6: Hide the Scent
As your puppy matures and their scent detection skills improve, transition to placing the low blood sugar cotton balls into smaller, more discreet containers. Begin hiding these containers in various locations around your house. Continue to reward your puppy enthusiastically each time they successfully locate the hidden scent.
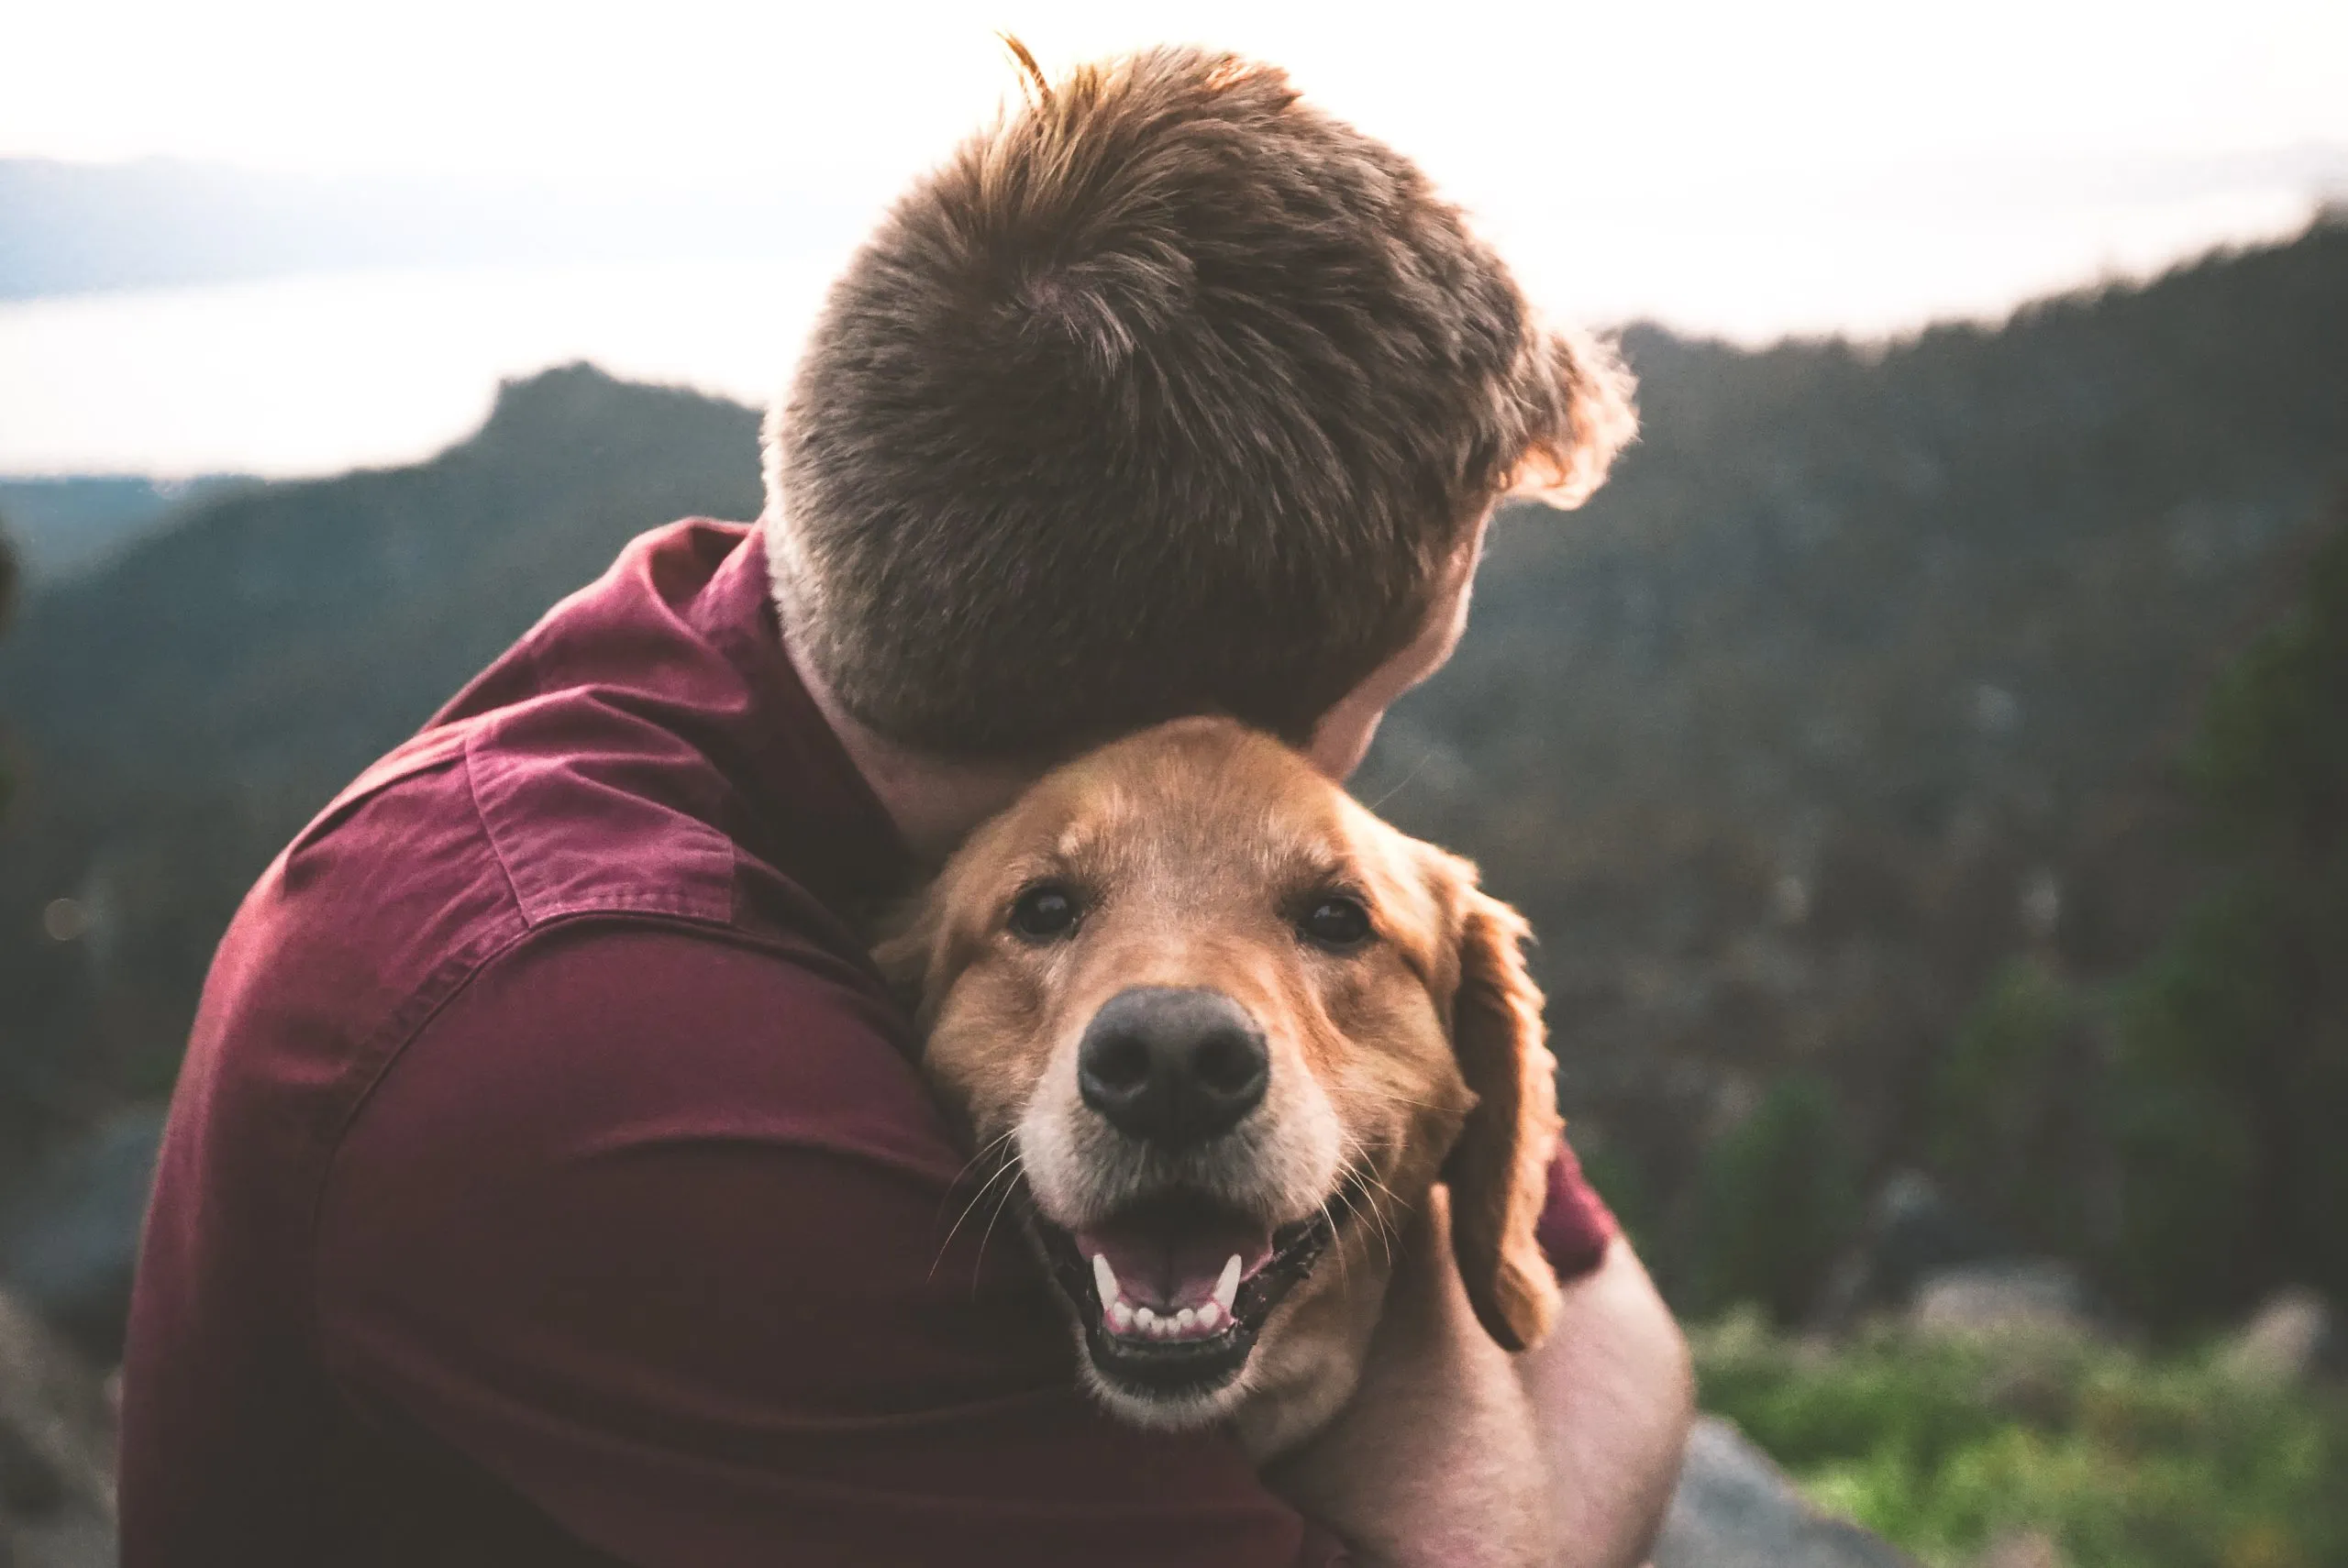
 Boy sitting with a golden retriever, illustrating the bond and trust between a child and a well-trained dog.
Step 7: Introduce an Alert Signal
Once your dog reliably finds the scent, the next critical phase is teaching them how to signal or alert you when they detect the scent of low blood sugar. This signal could be a pawing, nudging, barking, or any other distinct action you choose.
Step 8: Associate Scent with Signal
First, teach the chosen signal on command. Then, associate this command-based signal with the location of a low blood sugar sample. Gradually, you will remove the verbal command, so the alert is performed solely in response to the detection of the low blood sugar scent, making it an independent alert.
The Journey and Certification
The initial stages of training, particularly ensuring your dog doesn’t eat the cotton balls, can be the most challenging. However, with consistent effort and positive reinforcement, dogs can quickly learn to locate the scent. Observing their excitement for a treat after a successful find reinforces their motivation.
It’s important to remember that service dogs, including those trained to detect low blood sugar levels, often require certification. This certification ensures that both the dog and handler are working effectively as a team and meet specific performance standards. Before fully embarking on this training, it is advisable to research and understand the certification requirements and available assistance in your local area to ensure your dedicated companion can be formally recognized and provide the support needed.
