
Teaching your dog to “stay” and “come” are two of the most fundamental and vital commands for any dog owner. These commands not only contribute to your dog’s good manners and household obedience but are also crucial for their safety in various situations. Imagine being able to answer the door calmly, carry in groceries without your dog underfoot, or ensure their safety in an unfenced area – these are all benefits of a well-trained “stay” and “come.” While many owners find teaching “stay” challenging, with patience and the right approach, you can help your canine companion master this essential skill. This article will guide you through the process of teaching your dog a rock-solid “stay.” Knowing when to start leash training your puppy can also set a strong foundation for future command training, including “stay” and “come.”
Understanding “Stay” vs. “Wait” and the Release Cue
Before diving into training, it’s essential to understand the distinction between the “stay” and “wait” cues. “Wait” typically implies a temporary pause, meaning “hold on for a moment.” In contrast, “stay” means your dog should remain in a specific position (like a sit or down) until you explicitly release them. A truly solid “stay” means your dog will hold their position indefinitely, regardless of your proximity or the surrounding activity.
A “release cue” is the word or phrase you use to signal to your dog that the command is over, and they are free to move. This cue marks the end of a behavior and should be used consistently and exclusively for this purpose across all commands. Common release words include “okay,” “free,” or “release.” Be mindful when choosing your release word; for example, “okay” is frequently used in daily conversation, so ensure you don’t accidentally release your dog at an unintended moment.
Step-by-Step: Introducing the Release Cue
To build a strong “stay,” your dog must first understand what their release word signifies. Start by keeping training sessions short and positive.
- Ask for a position: Begin by asking your dog to sit or lie down.
- Offer a treat and release: After just one second in position, calmly offer your dog a treat and immediately say your chosen release word.
- Encourage movement: Actively encourage your dog to get up after you’ve given the release. You can take a step back, pat your legs, or clap your hands to prompt them to move.
- Praise their movement: When your dog moves after hearing the release word, offer enthusiastic praise.
- Repeat consistently: Continue these steps until your dog clearly understands that the release word means they are free to move from their position.
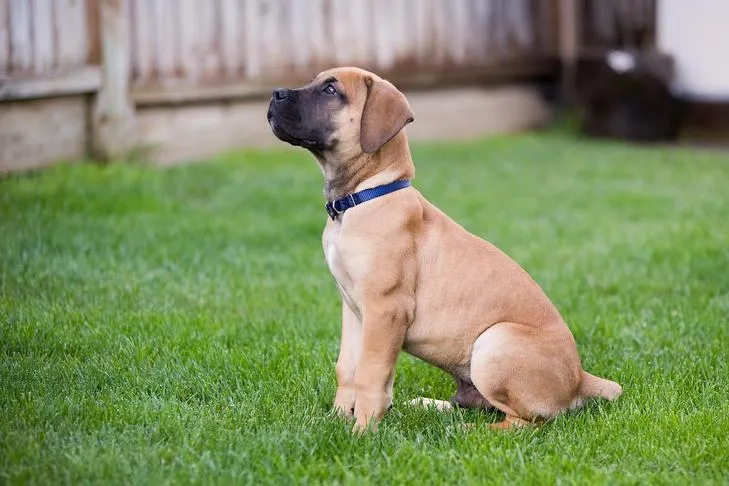 Boerboel puppy sitting calmly in a backyard, demonstrating focus
Building Duration for a Solid Stay
Once your dog understands the release cue, you can begin to introduce the “three Ds” of dog training: duration, distance, and distraction. Start by focusing solely on duration, leaving distance and distractions for later stages. During this phase, ensure you remain close to your dog and minimize any potential environmental distractions. This is also the point to introduce the verbal cue “stay” and a corresponding hand signal, typically an open palm held out like a stop sign.
Gradually Increasing Stay Time
Patience is key when building duration. Take small, incremental steps to set your dog up for success.
- Ask for a position: Have your dog sit or lie down.
- Give the “stay” cue: As soon as they are in position, hold out your hand in the “stop sign” gesture and say “stay.”
- Short wait, then reward: Wait only one or two seconds, then calmly give your dog a treat while they are still in position.
- Release and praise: Say your release word and praise your dog when they move.
- Extend the wait: In subsequent repetitions, gradually increase the waiting time by a few seconds before treating and releasing your dog.
- Progress slowly: Build the duration in small increments, a few seconds at a time.
- Multiple rewards for longer stays: Once your dog can hold a “stay” for 10 seconds or more, you can start offering multiple treats during the stay. Calmly provide treats periodically, repeating your “stay” cue and hand signal as a gentle reminder that the behavior is not yet finished.
It’s crucial that your dog never learns the “fun” of breaking their stay prematurely. Always progress at a pace that ensures success, avoiding asking for too much too soon. Remember, “stay” can be a boring command for dogs, so it’s vital to reward the act of staying, not the release. If you reward only the release, your dog may perceive the release itself as the more rewarding behavior. This is also applicable when considering how to stop your dog from jumping on visitors, as a solid “stay” can prevent unwanted jumping behaviors. If you use a clicker for training, click during the stay just before offering a treat. Avoid clicking when your dog moves on the release, as they might misinterpret the click as the end of the behavior. If necessary, repeat the “stay” cue and hand signal after a click and treat to reinforce the ongoing nature of the command.
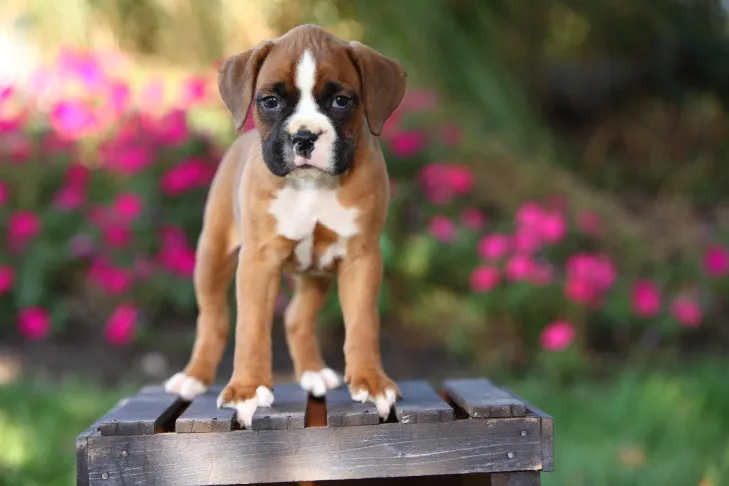 Boxer puppy standing attentively on a wooden crate amidst outdoor flowers
Troubleshooting Common ‘Stay’ Issues
When teaching your dog to “stay,” be mindful of your body language. Any movement from you, especially moving backward, can inadvertently lure your dog to break their position, as they are accustomed to being in front of you during training.
If your dog breaks their “stay” before being released, resist the urge to punish them. More often than not, a broken stay is due to the handler either accidentally luring the dog up or asking for too much too soon. The best approach is simply to reset. Calmly repeat your cues and start the exercise over, perhaps taking a few steps back in your training progression to ensure an easier success for your dog. Understanding these nuances can also help when learning how to stop a young dog from jumping up, as a strong foundation in “stay” helps manage excited behaviors.
Mastering Distractions and Distance
Once your dog can reliably hold a “stay” for at least 30 seconds with duration, you’re ready to introduce distractions and distance. It’s best to add distance last, as it inherently includes some level of distraction. When you begin to incorporate a new “D,” remember to lower your expectations for the others. For instance, even if your dog can hold a “stay” for two minutes, reduce the required duration back to a few seconds when a new distraction is present.
Introducing Distractions Gradually
Start with minimal distractions and slowly increase the intensity.
- Begin with small, low-level distractions, such as lightly clapping your hands or rustling a bag.
- Gradually build up to larger distractions, like gently tossing a toy or having another person walk by at a distance.
- Once your dog can maintain their “stay” through various distractions, you can then begin to rebuild the duration again.
Extending the Distance
When your dog can achieve 30-second stays with common distractions, you are ready to add distance. Again, minimize distractions and lower your duration expectations during this phase.
- Start with one step: Ask your dog to “stay,” then take a single step backward.
- Return and treat: Immediately return to your dog and give them a treat while they are still in position.
- Release: Say your release word.
- Gradual increase: Repeat these steps, gradually increasing the number of steps you take away before returning to your dog to treat and release them.
- Expand the area: Continue to slowly increase the distance until you can walk across the room or even out of sight briefly.
Always make it a point to return to your dog before you release them. Releasing your dog from a distance prevents you from rewarding them in position, and they might start to associate a certain distance with being released and approaching you. When your dog has mastered duration, distance, and distractions individually, it’s time to combine them. This could involve leaving the room for longer periods or practicing “stay” in an outdoor environment. Taking your time and building these skills slowly and patiently will lead to a dog with a reliable, rock-solid “stay” command, no matter the circumstances. This discipline also contributes to better leash manners, reducing instances of how to stop a dog pulling on his lead and making walks more enjoyable. Furthermore, a strong “stay” is crucial for safety when teaching how do i get my puppy to walk outside in new environments.
Mastering the “stay” command is a cornerstone of responsible dog ownership and a vital component of your dog’s overall obedience training, working hand-in-hand with commands like “come.” Through consistent, positive reinforcement and a methodical approach to duration, distance, and distractions, you can equip your dog with this invaluable skill. A well-trained “stay” not only enhances your dog’s safety and your peace of mind but also strengthens the bond you share, fostering a more harmonious relationship with your beloved companion. Keep practicing, celebrate small victories, and enjoy the journey of transforming your dog into a well-behaved and confident member of your family.