
Teaching your dog to “shake hands” is one of the most endearing and classic dog tricks, offering a delightful way to interact with your canine companion. This simple yet impressive command not only entertains friends and family but also provides a polite greeting for your dog when meeting new people. The ultimate goal when teaching your dog to shake is for them to enthusiastically and happily offer their paw, demonstrating a clear understanding of the command. You don’t need to physically manipulate your dog’s paw; instead, we’ll guide you through a gentle, positive reinforcement method to teach your dog this charming skill. Mastering How To Teach Your Dog To Shake can strengthen your bond and enhance their social interactions, ensuring they become a polite and well-mannered furry friend. This trick is a great foundation for further learning, just like mastering how to teach your dog to stay off the couch.
Essential Steps to Teach Your Dog to Shake
Before you begin, gather some high-value treats that your dog absolutely loves, or if you prefer, have a clicker ready. These tools will be crucial for marking and rewarding the desired behavior effectively. Consistency and patience are key throughout this training process.
Step One: Introduce Your Hand and Wait for the Paw
Begin by holding your empty hand out to your dog, palm facing up. Your dog might try various actions to figure out what you want, such as sniffing, licking, or even nudging your hand. The critical part here is to remain silent and wait patiently. The instant your dog’s paw makes contact with your hand, immediately click (if using a clicker) or offer enthusiastic verbal praise, open your hand, and give them a high-value treat. Repeat this process several times in short sessions.
Step Two: Building Duration and Understanding
Once your dog consistently paws at your hand, it’s time to slightly increase the duration of the paw placement. Instead of rewarding immediately, wait for your dog to hold their paw on your hand for a fraction of a second longer before you praise/click and treat. At this stage, avoid giving any verbal cues. This ensures your dog fully grasps the physical action of “shaking” before associating it with a word, preventing confusion or accidentally training them to simply paw at you for attention.
Step Three: Reinforcing the Paw Placement
Continue to gradually build the duration for which your dog rests their paw on your hand. It’s important that your dog understands the desired action is placing and resting their paw on your hand, not just a quick scratch. The timing of your praise and reward is crucial; it should occur precisely when their paw is in the correct position on your hand. Consistent reinforcement for accurate paw placement will solidify their understanding of the behavior.
Step Four: Short Holds for Clear Association
At this point, ask your dog to hold their paw on your hand for just a second or two before delivering the click/praise and treat. Through this repetition, your dog will begin to understand that the reward comes specifically from placing their paw on your hand, rather than just brushing against it or scratching. This refinement helps them clearly distinguish the desired action.
Step Five: Introducing the Verbal Cue “Shake”
When your dog reliably places their paw on your hand, you can introduce your chosen verbal cue. “Shake” is the most common, but any word you prefer will work. As you hold out your hand, just before your dog’s paw makes contact, say your cue (e.g., “shake”). Then, as their paw touches, immediately praise/click and treat. The goal is to create a strong association between the verbal command and the “shake” action. Precise timing is vital, so introduce the cue only when you are confident your dog is about to perform the shake behavior. Teaching “shake” builds on the foundation of other commands, much like learning how do you teach a dog stay.
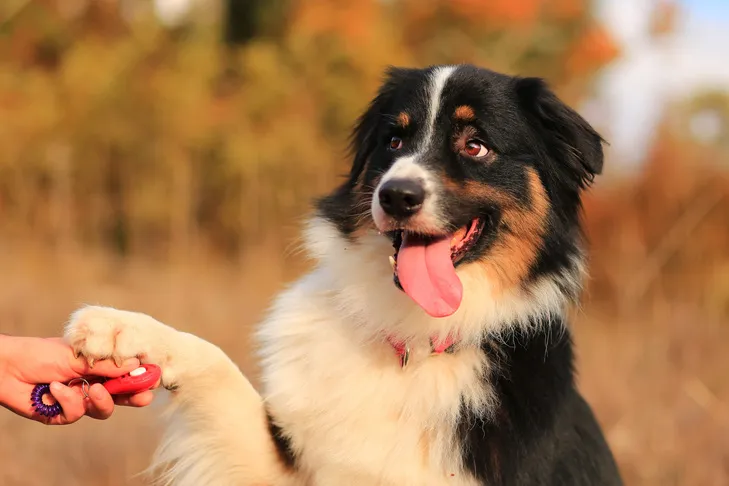 An Australian Shepherd learning to give paw while sitting outdoors
Step Six: Flattening the Hand for a Formal Shake
Once your dog consistently performs the previous steps, you can modify your hand position. Flatten your hand sideways and extend it towards your dog. Use your verbal cue “shake.” When your dog’s paw meets your outstretched, flattened hand, offer immediate click/praise and a treat. If your dog hesitates or doesn’t shake, it simply means they might not be ready for this advanced step. Revert to the previous step where they were successful, reinforce that, and then reintroduce the flattened hand gradually. This patience helps prevent frustration for both you and your dog, which is important even when dealing with issues like my dog keeps breaking out of his crate.
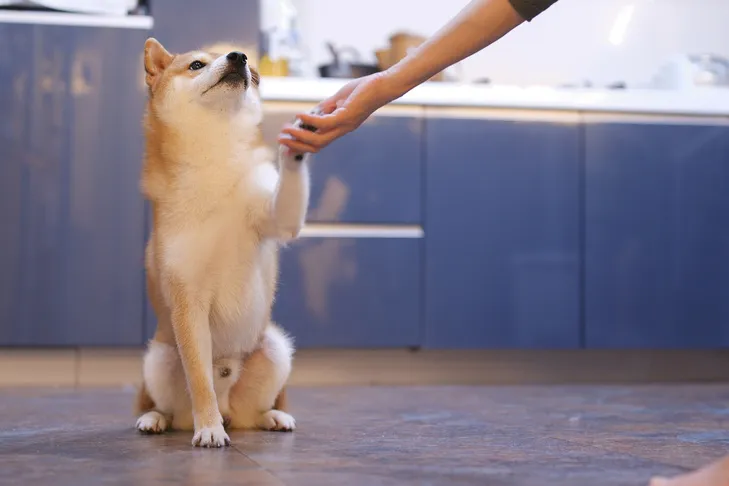 A Shiba Inu dog extending its paw to shake hands indoors
Step Seven: Adding Gentle Movement
With your dog consistently able to place their paw on your outstretched hand, you can start introducing a gentle up-and-down movement, mimicking a classic handshake. Remember to praise and treat for this new element as well. If at any point your dog shows signs of nervousness or uncertainty, calmly go back to the previous step where they felt comfortable and successful. Work on that step a few more times to rebuild their confidence before slowly reintroducing the more challenging movement. This careful progression ensures a positive learning experience for your dog. For other training needs, consider resources on teaching a dog to stay off furniture.
Troubleshooting and Tips for Success
Throughout the training, remember that patience is paramount. Keep your training sessions short, positive, and fun to maintain your dog’s engagement and enthusiasm. Always try to end each session on a successful note, even if it means going back to an easier step. If your dog gets distracted or frustrated, take a break and try again later. Celebrating small victories will motivate both of you. Consistency in your cues and rewards will help your dog understand exactly what is expected, making the learning process smoother and more enjoyable. Developing a strong connection with your dog through training can also improve their general obedience, similar to the benefits of learning how to train your dog to stay with you.
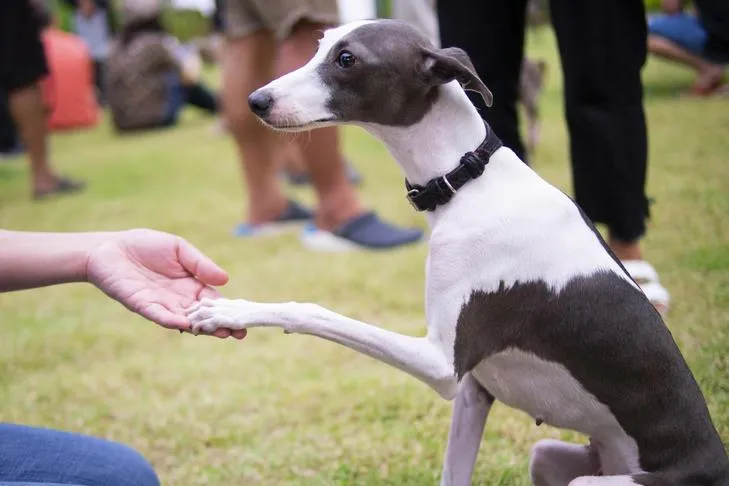 An Italian Greyhound shaking hands with a person, showing polite interaction
Conclusion
Teaching your dog to shake hands is a rewarding experience that goes beyond just learning a trick; it enhances communication and strengthens the bond you share. By following these clear, step-by-step instructions with patience and positive reinforcement, you can successfully teach your canine companion to perform this delightful command. The enthusiasm and understanding your dog shows will be a testament to your efforts. Start your training journey today and enjoy the wonderful moments you’ll share as your dog proudly offers their paw.