
The “stay” command is a cornerstone of canine obedience, vital not just for competitive events like AKC Rally or Obedience, but also for fostering good manners and a well-behaved companion at home. Imagine confidently answering your front door, bringing in groceries, or grooming your dog without them constantly underfoot. A reliable “stay” makes these everyday scenarios effortless. While many dog owners encounter challenges in teaching their dog to hold a position until released, success is entirely achievable with patience, consistency, and a structured approach. This guide will walk you through the essential steps on How To Teach Stay To Your Dog, transforming them into a calm and compliant companion.
Understanding “Stay” vs. “Wait” and the Release Cue
It’s important to first differentiate between “stay” and “wait.” The cue “wait” typically means to pause for a moment, often implying that movement will soon follow. “Stay,” however, signifies holding a specific position until explicitly released. If you ask your dog to “stay” while you retrieve the mail, they should remain in that exact spot until you give them the green light to move.
A release cue is a specific word or phrase you use to signal to your dog that the current behavior is complete, and they are free to move. This cue is incredibly versatile and can be applied to any learned behavior, effectively building an automatic “stay” into commands like “sit” or “down” until the release is given. Consistency is paramount when using your release word; use it exclusively and reliably to end a behavior. Common release words include “okay,” “free,” or “release.” Be mindful that “okay” is frequently used in daily conversation, so choose carefully to avoid accidentally releasing your dog at an unintended moment.
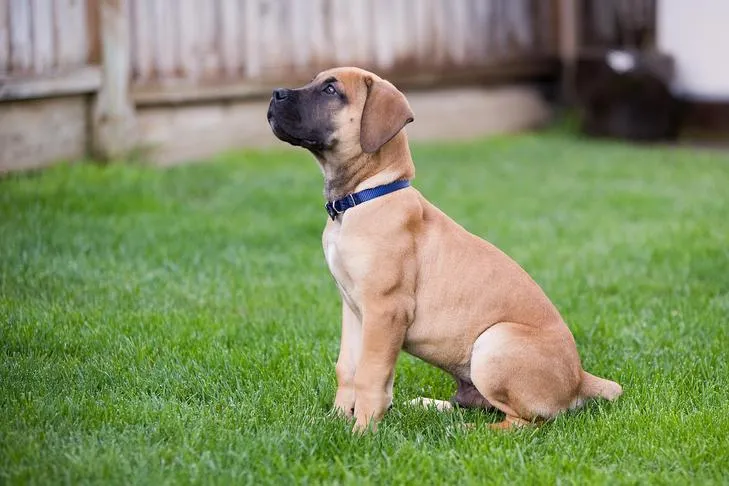 A focused Boerboel puppy maintaining a calm sit-stay position in a grassy backyard.
Step-by-Step: Teaching the Release Word
To lay the groundwork for a successful “stay,” begin by teaching your dog the meaning of their release word. Starting small and building gradually will prevent frustration for both you and your canine friend.
- Initiate a Position: Ask your dog to “sit” or “lie down.”
- Immediate Reward and Release: After just one second, calmly offer your dog a treat and immediately say your chosen release word (e.g., “okay,” “free”). This initial step is crucial for establishing clear communication and helping your dog understand how to train your dog to listen effectively in a structured training environment.
- Encourage Movement: Actively encourage your dog to get up and move after they’ve heard the release word. You can walk away a step or two, gently pat your legs, or clap your hands to prompt them.
- Praise for Movement: Offer verbal praise (e.g., “Good boy/girl!”) once your dog moves from their position.
- Repeat: Continuously repeat these steps until your dog consistently understands that the release word means they are free to move.
Building Duration for a Solid “Stay”
Once your dog grasps the release cue, you’re ready to introduce the “three Ds” of duration, distance, and distraction. Begin by focusing solely on duration, leaving distance and distraction for later stages. Ensure you remain close to your dog and minimize environmental distractions during this phase. This is also the point to introduce the verbal cue “stay.”
- Initial Position: Ask your dog to “sit” or “lie down.”
- Introduce “Stay” Cue: As soon as they settle into position, extend your hand straight out in front of you, palm facing your dog (like a stop sign), and clearly say “stay.”
- Short Wait & Reward: Wait a second or two, then calmly give your dog a treat while they are still in position.
- Release and Praise: Give your release word and praise your dog when they move.
- Gradually Increase Duration: In subsequent repetitions, gradually extend the waiting time by a few more seconds before treating and releasing your dog.
- Progressive Buildup: Continue building duration in small increments. Avoid pushing your dog too far too quickly to prevent them from breaking the “stay” prematurely.
- Multiple Rewards for Longer Stays: Once your dog can hold a “stay” for 10 seconds or more, you can begin to offer multiple treats during the stay. Calmly deliver treats periodically, repeating your “stay” cue and hand signal to reinforce that the command is still active.
It’s crucial that your dog never discovers the “fun” of releasing themselves. Always aim for success by taking small, manageable steps. Remember that “stay” can be a boring command for dogs, so it’s essential to reward the staying behavior itself, not the release. Rewarding only upon release can inadvertently make the act of moving more desirable than holding the position. For the same reason, if you use a clicker to train your dog, click during the stay before you offer a reward, but don’t click your dog when they move on the release. This prevents your dog from thinking the click means the behavior is over, a common issue when how to get your dog to stop jumping unexpectedly. If your dog might interpret the click as the end of the behavior, simply repeat your “stay” cue and hand signal after the click and treat.
Troubleshooting Common “Stay” Issues
As you teach your dog to stay, pay close attention to your body language. Unintentional movements can inadvertently lure your dog out of position. Dogs are accustomed to being in front of you during training, so any backward movement on your part might prompt them to follow.
What should you do if your dog breaks their “stay” before being released? First and foremost, avoid punishing your dog. Often, a broken “stay” indicates that you either unknowingly lured them to move or asked for too much too soon. Simply reset by calmly repeating your cues and starting the exercise again. It might mean taking a few steps back in your training progression to ensure future success and rebuild confidence.
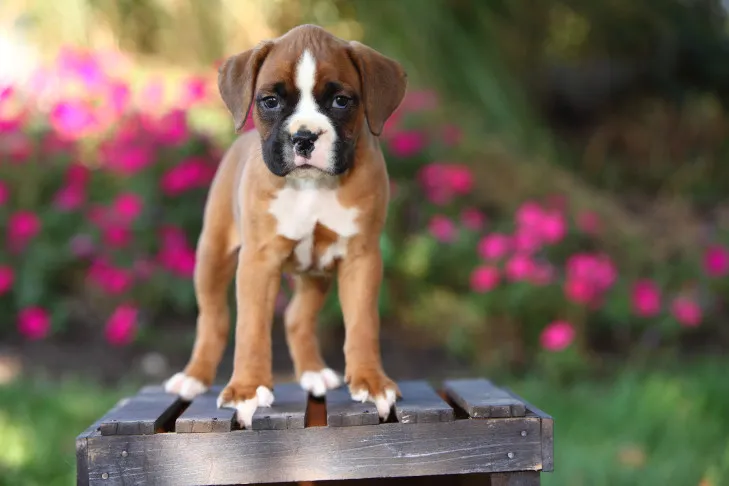 A curious Boxer puppy stands attentively on a wooden crate outdoors, demonstrating good balance and potential for a strong stay command.
Introducing Distractions and Distance
Once your dog can reliably hold a “stay” for at least 30 seconds with good duration, you are ready to introduce distractions and distance. Since distance inherently incorporates some level of distraction, it’s best to tackle it last. When adding a new “D,” remember to lower your expectations for the others.
Adding Distractions
When you begin to add distractions, even if your dog can hold a “stay” for two minutes, revert to asking for only a few seconds when the distraction is present. Start with minor distractions, such as softly clapping your hands, and gradually progress to larger ones like gently tossing a toy or a ball a short distance away. This is a progressive approach, similar to teaching how to make your puppy stop jumping when it’s excited. Once your dog can maintain their “stay” through various distractions, you can then begin to rebuild the duration again.
Adding Distance
After your dog consistently achieves 30-second stays amidst distractions, you’re ready for distance. Again, reduce your duration expectations and minimize distractions as you introduce this new element.
- Initial Step Back: Ask your dog to “stay,” then take a single step backward.
- Immediate Return and Reward: Immediately return to your dog’s side and give them a treat while they are still in position.
- Release: Deliver your release word.
- Gradually Increase Distance: Repeat these steps, progressively increasing the number of steps you take away before returning to treat and release your dog.
- Room’s Edge: Slowly build up the distance until you can walk to the opposite side of the room.
Crucially, always return to your dog’s side before releasing them. Releasing your dog from a distance prevents you from rewarding them in their “stay” position. Furthermore, it might inadvertently teach them that a certain distance is a cue to break position and approach you. A strong “stay” also complements other behaviors like how to prevent your dog from pulling on the leash, as it teaches them impulse control and focus. Once your dog can handle all three Ds independently, it’s time to combine them by leaving the room or practicing outdoors in more complex environments. The “stay” command is a foundational skill that supports more advanced training, such as addressing situations where your puppy breaks out of its crate due to anxiety or lack of self-control. Take your time, build slowly, and your dog will develop a rock-solid “stay” regardless of the surrounding circumstances.
Conclusion
Teaching your dog the “stay” command is a rewarding journey that enhances their obedience, safety, and overall integration into your life. By understanding the distinction between “stay” and “wait,” mastering the consistent use of a release cue, and systematically introducing duration, distance, and distractions, you can build a reliable “stay” that stands the test of any environment. Remember that patience, positive reinforcement, and setting your dog up for success are key. With consistent practice, your furry friend will learn to hold their position with confidence, making everyday interactions smoother and more enjoyable for both of you.