
A reliable “stay” command is a cornerstone of good canine behavior, offering invaluable benefits in everyday situations and even competitive dog sports. Whether you’re aiming for perfect obedience in the ring or simply need your dog to hold still while you answer the door, groom them, or carry in groceries, mastering the “stay” makes life significantly easier. Many dog owners find teaching this command challenging, but with patience and a structured approach, you can teach your dog to “stay” like a true champion. This guide will walk you through How To Teach Stay Command To Dog, ensuring a strong foundation for a well-behaved companion. To achieve a truly well-mannered companion, understanding [how to teach a dog to walk] calmly on a leash is also crucial for daily outings.
Understanding the “Stay” Command and Release Cue
It’s important to distinguish “stay” from “wait.” While “wait” typically implies a temporary pause, “stay” means your dog holds a specific position—be it a sit, down, or stand—until you explicitly release them. Theoretically, if you ask your dog to “stay” and step away for an extended period, they should remain in that exact spot until your return. This level of steadfastness is what makes the “stay” command so powerful.
A critical component of teaching “stay” is introducing a clear release cue. This is a specific word you use to inform your dog that the behavior is complete and they are free to move. You can integrate a release word with any command; for instance, your dog can learn to sit or lie down until released, effectively building an automatic “stay” into those positions. Consistency is key: use your chosen release word exclusively to end a behavior. Common release words include “okay,” “free,” or “release.” However, be mindful that “okay” is frequently used in daily conversation, so choose a word you can use consistently without accidental releases.
Teaching the Release Word First
For a successful “stay,” you must begin with small, manageable steps. Your initial focus should be on clearly teaching your dog what their release word signifies. Follow these steps to get started:
- Ask your dog to sit or lie down.
- After just one second, calmly offer your dog a treat and immediately say your chosen release word.
- Encourage your dog to move and get up after you’ve given the release cue. You can walk away, pat your legs, or clap your hands to prompt them to move.
- Praise your dog enthusiastically as they get up and move.
- Repeat these steps until your dog consistently understands that they are free to move only after hearing the release word.
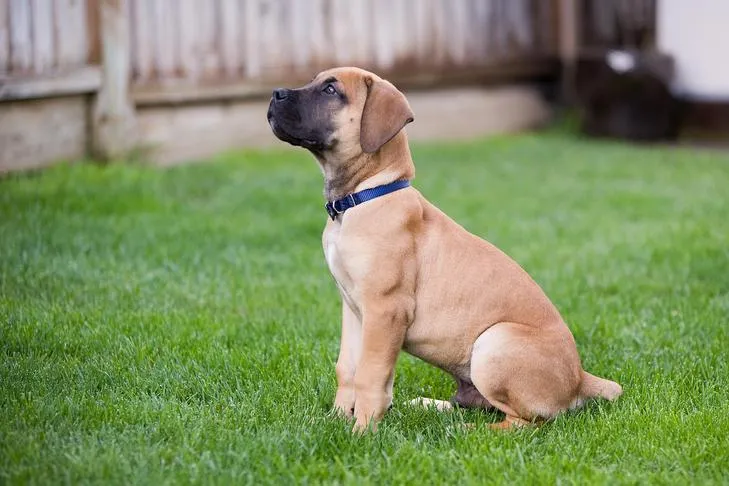 A Boerboel puppy sitting in profile in a green backyard, looking alert.
Building Duration for a Solid “Stay”
Once your dog understands the release cue, you’re ready to introduce the “three Ds” of duration, distance, and distraction. Begin with duration, saving distance and distractions for later stages. During this phase, ensure you remain close to your dog and minimize environmental distractions. This is also when you’ll introduce the verbal cue “stay.” These steps will help you build duration:
- Ask your dog to sit or lie down.
- As soon as they assume the position, extend your hand straight out in front of you, like a stop sign, and clearly say “stay.”
- Wait for a second or two, then calmly give your dog a treat.
- Release your dog and offer praise when they move.
- Now, after asking for the “stay,” gradually increase the waiting time by a few seconds before treating and releasing.
- Continue building the duration a few seconds at a time.
- Once your dog can hold the “stay” for 10 seconds or more, you can begin to offer multiple treats during the “stay.” Periodically offer a treat while repeating your “stay” cue and hand signal to reinforce that the behavior is still ongoing.
It’s crucial to prevent your dog from ever realizing they can release themselves. Always progress in small increments, setting your dog up for success rather than pushing their limits too quickly. Remember that “stay” can be a boring command for dogs, so consistent rewards are essential. Make sure you reward the “stay” itself, not just the release, otherwise the release becomes more desirable than holding the position. If you use clicker training, click during the “stay” before delivering the treat, but avoid clicking when your dog moves upon release. If your dog interprets the click as the end of the behavior, simply repeat the “stay” cue and hand signal after clicking and treating to remind them they are still holding the position. Teaching your dog how to teach stay command to dog needs patience and positive reinforcement. A strong “stay” command also complements other essential obedience skills, such as how to ensure [teach your dog to stop pulling on the leash] during walks.
Troubleshooting Common “Stay” Challenges
When you’re teaching your dog to stay, pay close attention to your body language. Any movement you make, especially stepping backward, can inadvertently act as a lure, causing your dog to break their position and follow you. Dogs are accustomed to being in front of their handler during training, so they naturally want to follow if you move away.
What should you do if your dog breaks their “stay” before you’ve given the release cue? Firstly, avoid punishment. Most often, a break in “stay” indicates that you either unknowingly lured them to move or asked for too much too soon. Simply reset the situation: calmly lead your dog back to their original spot, repeat your cues, and start over. Take a few steps back in your training to ensure future success, perhaps shortening the duration or eliminating distractions for a few repetitions. Consistent reinforcement of the stay command is key for successful obedience. Knowing [how to teach your dog to not pull] on the leash involves similar principles of consistent training and managing expectations.
Mastering Distractions and Distance
Only introduce distractions and distance after your dog has reliably achieved a duration of at least 30 seconds. Since adding distance inherently introduces some level of distraction, it’s often best to address it last. When you begin to add a new “D,” ease your expectations for the others. For instance, when you start introducing distractions, even if your dog can hold a “stay” for two minutes, temporarily revert to asking for only a few seconds when a distraction is present. Start with minor distractions, like a soft clap of your hands, then gradually build up to more significant ones, such as rolling a ball a short distance away. Once your dog can maintain their “stay” through various distractions, you can incrementally increase the duration again.
When your dog can successfully perform 30-second “stays” amidst distractions, you are ready to incorporate distance. Again, reduce your duration expectations and minimize other distractions during this phase of training. The following steps will help you gradually build distance:
- Ask your dog to “stay,” then take a single step backward.
- Immediately return to your dog and reward them with a treat.
- Release your dog with your chosen cue.
- Repeat these steps, but this time take two steps away before returning to treat and release your dog.
- Slowly and progressively increase the distance until you can walk to the opposite edge of the room.
Always make sure to return to your dog before giving the release cue. Releasing them from a distance prevents you from rewarding them while they are still holding the “stay.” Furthermore, releasing from far away could inadvertently teach your dog that a certain distance is a cue to break their position and approach you. When your dog consistently handles all three Ds (duration, distance, and distraction) individually, it’s time to combine them. This could mean practicing in new environments, like leaving the room or even going outside to an enclosed, safe space. Take your time and build slowly, and your dog will develop a rock-solid “stay” command, regardless of the surrounding environment. Mastering the “stay” command also enhances control in situations where [how to teach my dog not to pull] is a concern, providing more options for managing your dog’s behavior. A well-trained dog with a reliable “stay” also makes general outings, where [teaching a dog not to pull on the leash] is vital, much more enjoyable and safer.
Conclusion
Teaching your dog the “stay” command is a foundational journey in obedience that requires dedication, consistency, and a positive approach. By patiently starting with the release cue, incrementally building duration, and then carefully introducing distractions and distance, you empower your dog with a vital skill. A strong “stay” not only enhances their safety and good manners but also strengthens the bond between you and your canine companion. Embrace the process, celebrate small successes, and soon your dog will master this invaluable command, making your shared life more harmonious and enjoyable. Continue exploring Dog Care Story for more expert tips and guides on enhancing your dog’s training and well-being.