
A well-trained dog is a joy, and few commands are as practical and universally beneficial as “stay.” Whether you’re managing daily household routines, ensuring safety during walks, or simply wanting a polite canine companion, a reliable “stay” is fundamental. Imagine being able to answer the door without your dog greeting visitors with an over-enthusiastic jump, or carrying groceries into the house without a furry obstacle underfoot. This command is more than just a party trick; it’s a cornerstone of good manners and essential for your dog’s safety and your peace of mind. Learning How To Teach My Dog To Stay empowers both you and your pet, fostering a stronger bond built on clear communication and trust. With patience and consistency, any dog can master this vital skill, transforming chaos into calm.
Understanding “Stay” vs. “Wait” and the Release Cue
Before diving into the training steps, it’s crucial to distinguish between “stay” and “wait” and to understand the concept of a “release cue.” While often used interchangeably, these commands have distinct meanings in dog training.
“Wait” typically implies a temporary pause, meaning “hold on for a moment.” For example, you might ask your dog to “wait” at a doorway while you open it, expecting them to move through once the path is clear, without a specific release word.
“Stay,” on the other hand, means holding a specific position (sit, down, stand) until explicitly told otherwise. If you ask your dog to “stay” while you go check the mail, they should remain in that exact spot until you return and give them their release cue, regardless of how long you’re gone. This command truly builds self-control and patience in your dog.
A release cue is the word or phrase you use to tell your dog they are free to move and that the current behavior is finished. This cue is vital because it clearly signals the end of the “stay” command, preventing your dog from guessing or breaking the command prematurely. Consistency is key when using your release word. Popular choices include “okay,” “free,” or “release.” Be mindful that words like “okay” are common in daily conversation, so ensure you don’t accidentally release your dog at an inopportune moment. Always use your chosen release word consistently and exclusively to end a behavior.
The Foundation: Teaching Your Dog the Release Word
To successfully teach your dog to stay, you must first teach them what their release word means. This initial step builds anticipation and understanding, setting the stage for longer durations. Start in a quiet environment with minimal distractions, and keep sessions short and positive.
Follow these simple steps to teach your dog the release word:
- Ask your dog to perform a basic command they already know, like “sit” or “down.”
- After just one second, calmly offer your dog a small, high-value treat.
- Immediately after giving the treat, say your chosen release word (e.g., “Free!” or “Okay!”).
- Encourage your dog to get up and move after they hear the release word. You can lightly pat your legs, clap your hands gently, or take a step back to encourage them.
- Praise your dog enthusiastically the moment they move. This positive reinforcement connects the release word with the freedom to move.
- Repeat these steps several times. The goal is for your dog to understand that the release word signals the end of the position and the opportunity for movement and more praise.
This initial training teaches your dog to await the release cue, a critical component of a solid “stay.” This foundation also helps with other training challenges, such as how to get your dog to stop pulling the leash when they need to hold a position at a crosswalk.
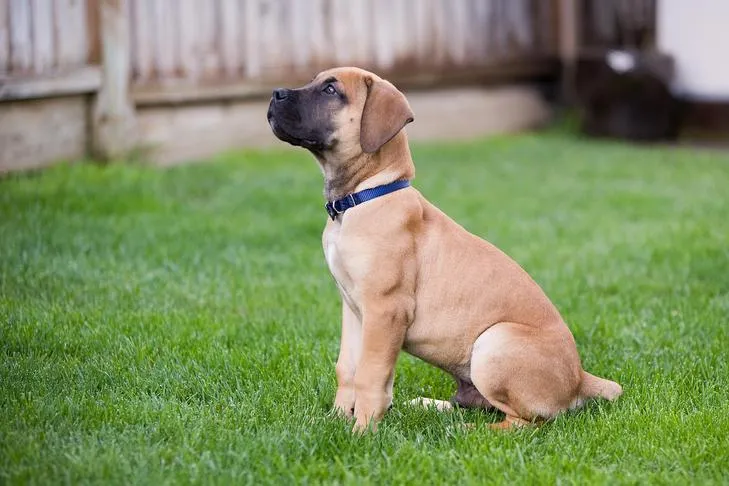 Boerboel puppy demonstrating a calm 'stay' position in a backyard setting.
Building Duration: Making Your Dog Hold the “Stay”
Once your dog reliably understands the release cue, you can begin adding duration – the first of the “three Ds” (Duration, Distance, Distraction) in advanced training. Keep the environment distraction-free and remain close to your dog during these initial stages. Now is also the time to introduce the “stay” verbal cue and hand signal.
Here’s how to build duration for your dog’s “stay”:
- Ask your dog to sit or lie down.
- As soon as they assume the position, hold your open hand straight out in front of you (like a “stop sign”) and clearly say the word “stay.” This visual cue reinforces the command.
- Wait for just one or two seconds, then calmly give your dog a treat while they are still in the “stay” position.
- After the treat, immediately give your release word and praise your dog for moving.
- Gradually increase the duration. In subsequent repetitions, wait a few more seconds before treating and releasing. Build up the time in small increments (e.g., 2 seconds, then 3, then 5).
- Once your dog can hold a “stay” for 10 seconds or more, you can begin to offer multiple treats during the “stay.” Calmly deliver a treat every few seconds, repeating your “stay” cue and hand signal each time to remind your dog they are still expected to hold the position.
It’s vital to reward the “stay” itself, not the release. If the release becomes more rewarding, your dog might be tempted to break the “stay” prematurely. The goal is for your dog to find holding the position reinforcing. For those who use a clicker, click during the stay just before offering a treat, but never click when your dog moves on the release. If your dog associates the click with the end of the behavior, reiterate the “stay” cue and hand signal after clicking and before giving the treat to reinforce that the “stay” is ongoing. This careful approach helps avoid common issues, similar to how precise timing is key when training a dog to come back when called.
Troubleshooting Common “Stay” Challenges
Even with careful training, dogs might break their “stay” prematurely. It’s important to understand why this happens and how to correct it without resorting to punishment.
One common reason dogs break “stay” is due to human body language. Dogs are highly perceptive and will often follow your movements. If you subtly shift your weight, lean backward, or make eye contact that signals an invitation to move, your dog might interpret this as a cue to approach. Your dog is accustomed to being near you during training, so any movement away from them can make them want to follow. To avoid this, remain as still and neutral as possible while your dog is in a “stay.”
If your dog breaks their “stay” before you’ve given the release cue, resist the urge to scold or punish them. This can create fear and anxiety, hindering future training. More often than not, a broken “stay” indicates that you’ve either asked for too much too soon, or your body language inadvertently encouraged them to move.
Instead, calmly guide your dog back to the original spot and position, then repeat the “stay” cue. Take a step back in your training, reducing the duration, distance, or distractions, to ensure success. For instance, if they broke a 10-second “stay,” try asking for a 5-second “stay” again. Setting your dog up for success is always more effective than correcting a failure. This approach is also beneficial when addressing other behavioral issues, like how to train your dogs to stay off the couch, where consistency and clear expectations are paramount.
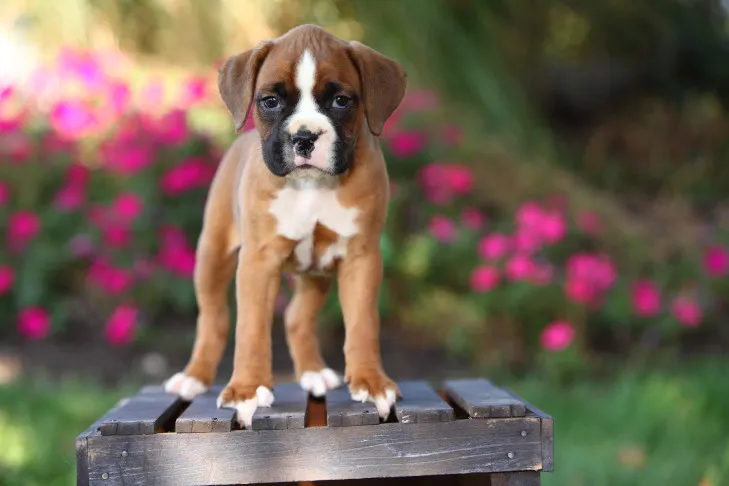 Boxer puppy practicing the 'stay' command on an elevated crate, focusing despite outdoor distractions.
Mastering the 3 Ds: Adding Distractions and Distance to Your Dog’s Stay
Once your dog can reliably hold a “stay” for at least 30 seconds with you nearby and no distractions, you’re ready to introduce the remaining two Ds: Distraction and Distance. Remember, when you introduce a new “D,” always lower your expectations for the others.
Adding Distractions:
Begin with minor distractions and gradually increase their intensity. Even if your dog can hold a “stay” for two minutes in a quiet room, go back to asking for only a few seconds when a distraction is present.
- Start with small, controlled distractions: a gentle hand clap, dropping a soft toy, or someone walking quietly past.
- If your dog holds the “stay,” treat and release. If they break, calmly guide them back to position and try again with a slightly less intense distraction.
- Slowly increase the level of distraction: jingling keys, rolling a ball, another person walking by, or even how to stop puppy from barking at other dogs (simulating this with a sound).
- Once your dog consistently stays through various distractions, gradually build the duration again within these distracted environments.
Adding Distance:
Distance often inherently includes an element of distraction, so it’s generally best to introduce it last. Again, reduce your duration expectations and minimize other distractions when focusing on distance.
- Ask your dog to “stay.”
- Take a single step backward.
- Immediately return to your dog, give them a treat, and then release them.
- Repeat, but this time take two steps away before returning to treat and release.
- Slowly increase the distance, one or two steps at a time, until you can walk to the edge of the room or even around a corner.
Always return to your dog to give the reward while they are still in the “stay” position before giving the release cue. If you release them from a distance, you lose the opportunity to reward them for holding the position, and they might learn that a certain distance means they can break the “stay” and approach you.
When your dog can handle duration, distractions, and distance individually, start combining them. Gradually challenge your dog by asking for longer stays with increasing distractions while you move further away. Eventually, your dog will be able to hold a “stay” even when you leave the room or go outside. Take your time, build slowly, and soon your dog will have a rock-solid “stay” command, making everyday life much smoother and more enjoyable.
Conclusion
Teaching your dog to “stay” is a journey that requires patience, consistency, and positive reinforcement, but the rewards are immense. From enhancing household manners and ensuring safety to building a deeper understanding between you and your canine companion, a reliable “stay” command is truly transformative. By clearly differentiating “stay” from “wait,” teaching a consistent release cue, and systematically introducing duration, distractions, and distance, you empower your dog with self-control and confidence. Remember to always set your dog up for success, avoid punishment, and celebrate every small victory. With these steps, you’re well on your way to mastering how to teach my dog to stay, creating a well-behaved and harmonious member of your family. Keep practicing, and you’ll soon have a champion “stayer” by your side, ready for any situation life throws your way.