
The place command is an invaluable tool for any dog owner, offering a pathway to a more relaxed and well-behaved canine companion. It empowers your dog to settle calmly in a designated spot, whether you’re enjoying a quiet moment at home, navigating busy hiking trails, or relaxing at a dog-friendly establishment. This comprehensive guide will walk you through the process of teaching your dog the place command, the essential gear you’ll need, and practical applications for real-world scenarios. The ability to have your dog settle on command significantly reduces undesirable behaviors, providing structure and peace for both pet and owner.
The Profound Benefits of Teaching the Place Command
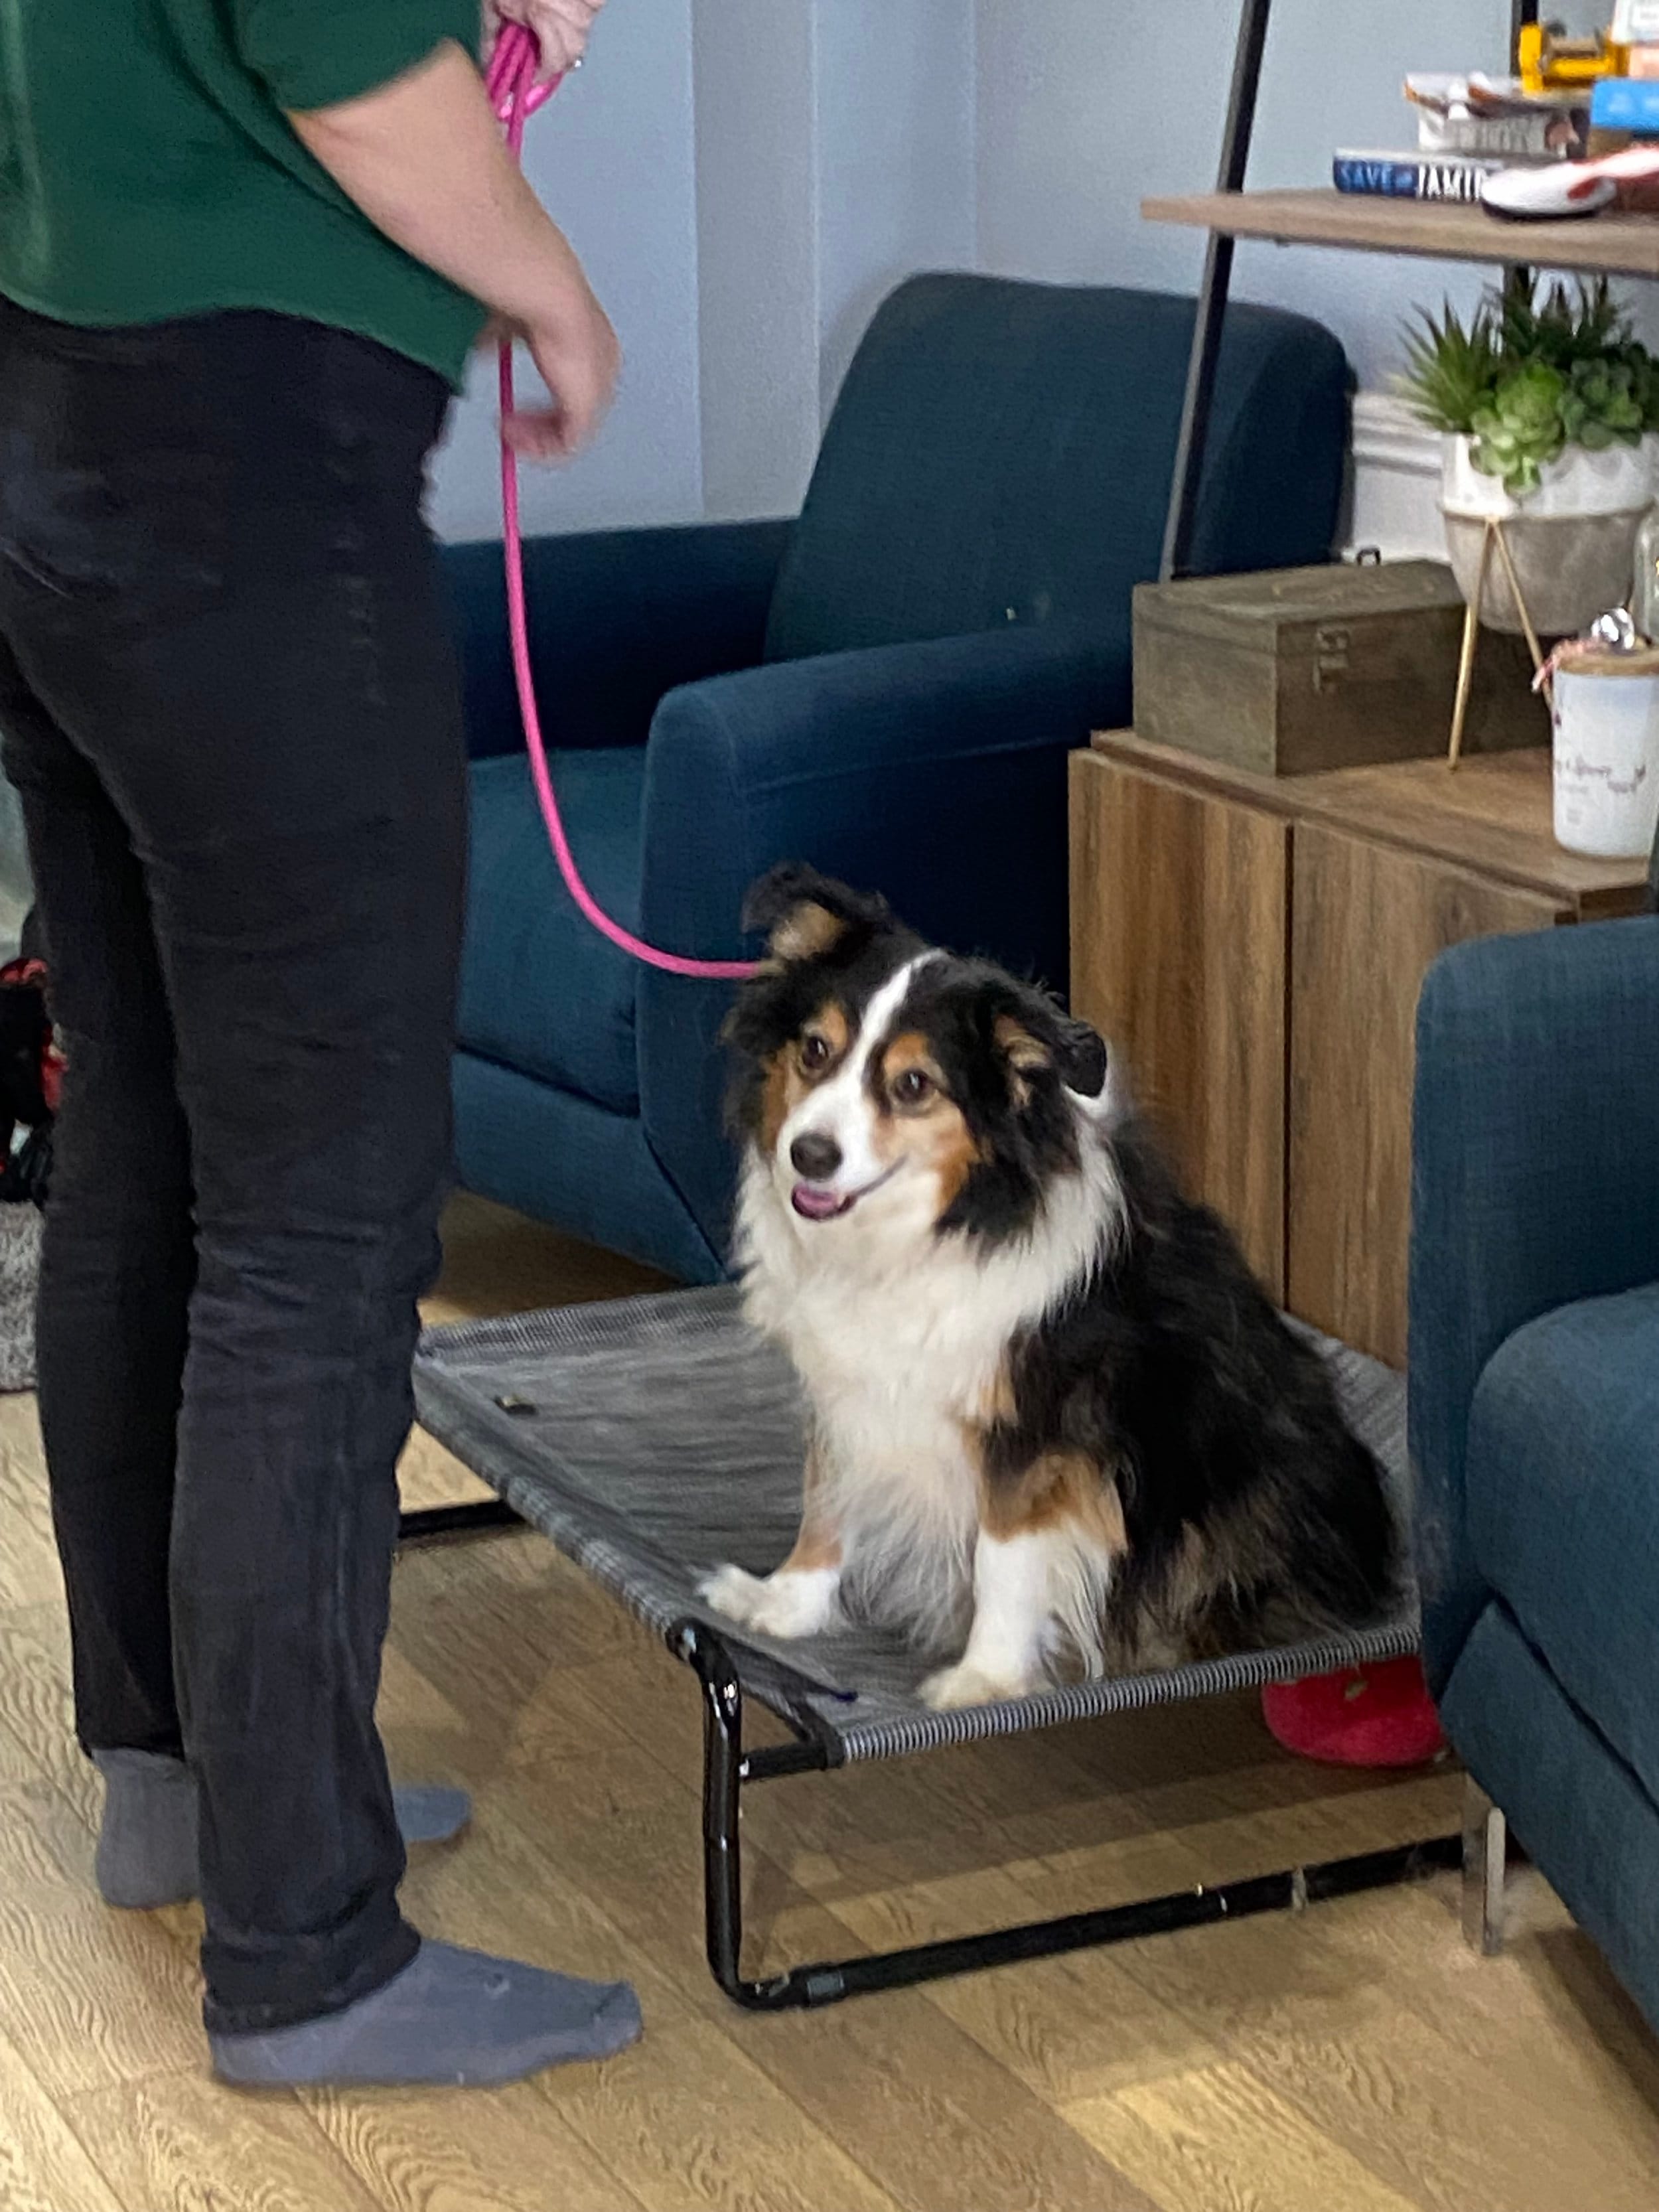
The place command is a fundamental dog training cue that directs your dog to a specific location—such as a mat, cot, or elevated surface—and instructs them to remain there in a state of relaxation until released. Unlike a “stay” command, “place” establishes a defined boundary and crucially emphasizes calm, settled behavior. It provides your dog with a constructive task, diverting them from self-chosen activities that often manifest as problem behaviors. When dogs are left to their own devices, they may resort to actions like excessive barking at the doorbell, rushing the door to greet guests, jumping on people, begging at the dinner table, or engaging in destructive behavior at home. The “place” command essentially means “go to the designated spot and remain there until I release you,” instilling a sense of responsibility and obedience.
Strategic Applications of the Place Command
The utility of the place command extends far beyond basic obedience, integrating seamlessly into daily life and outdoor adventures. At home, it provides structure, ensuring your dog understands their boundaries when not in their crate. This command is particularly transformative for travel and outdoor excursions. For instance, when encountering other hikers on a trail, you can direct your dog to “place” on a nearby rock or stump, demonstrating excellent hiking etiquette. Teaching your dog to “place” on a mat is also highly effective for camping, allowing you to set up your tent or prepare meals without your dog being underfoot. It’s crucial for activities like paddleboarding, where a dog’s stillness is paramount to prevent accidental submersion. Furthermore, the place command is indispensable for capturing memorable photos, ensuring your dog holds a pose for the perfect shot. It’s also a game-changer for social outings, such as visiting breweries or restaurant patios, where it allows your dog to relax amidst stimulating environments without reacting negatively to the surroundings.
Recommended Gear for Place Command Training
The beauty of the place command lies in its minimal equipment requirements. You’ll primarily need a designated “place” surface, treats, and a leash. While you can begin training with a mat or cot, the concept can eventually be applied to any object with clear boundaries.
Here are a few highly recommended options:
- Kuranda Elevated Dog Bed: A durable, chew-proof option that supports up to 100 lbs and is easy to clean, making it suitable for outdoor use.
- K&H Elevated Dog Bed: Another robust choice, capable of supporting up to 200 lbs, also chew-proof and easy to maintain. However, it might not be as long-lasting as some alternatives.
- Acrimet Nap Cot for Kids: While potentially less chew-proof, this option supports up to 60 lbs, is easy to clean, and its stackable design is a bonus.
Alternative Place Surfaces:
Beyond specialized beds, numerous everyday objects can serve as effective “place” surfaces in various situations:
- Towels
- Backpacks
- Your car
- Logs or rocks
- A veterinarian’s scale
- Door mats
- Blankets
- Picnic tables
- Benches
- Chairs
Step-by-Step Guide to Teaching the Place Command
Begin training in a low-distraction environment, such as your home. As your dog becomes proficient, gradually introduce more distracting locations. Keep training sessions brief, ideally around 10 minutes, to maintain your dog’s focus and enthusiasm.
1. Establish a Terminal Marker
Before introducing the word “place,” ensure your dog understands a terminal marker word (e.g., “yes” or “good”). This marker signals the end of a behavior or a release from a command. If your dog doesn’t grasp that they need to wait for a release cue, they won’t understand the necessity of holding their position.
2. Introducing the “Place” Command
With a solid understanding of the marker word, you can now teach the “place” command:
- Leash Up: Secure your dog on a 6-foot leash, preferably with a martingale collar or a slip lead.
- Approach the Target: Hold the leash close to your dog’s collar and walk them towards the chosen “place” surface. Position yourself so you can walk past the surface; stopping directly at it will cause your dog to stop as well. Maintain forward momentum.
- Address Resistance: Your dog might stop short, circle around the surface, or step over it.
- If they stop, restart and continue moving past. You may need to position yourself between your dog and the surface to encourage them forward, keeping the leash taut.
- If they circle, employ the same strategy of maintaining forward movement and a short leash. Getting down to their level and patting the surface can also help.
- If they step onto the surface and immediately off, apply gentle backward pressure on the leash the moment their paws touch it.
- Reward Placement: Once all four paws are on the surface, deliver your marker word (“yes”) and immediately reward them with a treat. At this initial stage, focus solely on getting them onto the surface and rewarding.
- Vary Approaches: Repeat the process, approaching the “place” surface from different angles.
- Introduce the Cue: Once your dog consistently steps onto the surface, begin saying the word “place” as they approach it.
Pro-Tip: Initially, don’t be concerned with whether your dog sits or lies down. The primary goal is to get them onto the designated spot and encourage them to stay. Lying down will naturally follow as they become more comfortable.
3. Building Duration
After your dog understands the basic concept of “place,” begin extending the time they remain on the surface. Start with just a few seconds, reward, and gradually increase the duration to five seconds, then ten, and eventually several minutes. Use your marker word periodically to acknowledge their continued compliance. Frequent breaks are essential, especially in the early stages, to prevent frustration or fatigue.
4. Ideal Practice Locations
Once your dog is proficient in low-distraction areas, it’s time to increase the challenge by practicing in more stimulating environments. Consider these excellent locations:
- Local parks
- Outside dog parks
- Bike paths
- Busy urban areas near lakes or recreational spots
- Hardware stores like Home Depot or Lowe’s
- Breweries and restaurant patios
- Nurseries
- Skate parks
- Near schools during non-operational hours
- Adjacent to playgrounds
5. Troubleshooting Common Issues
Mistakes are a natural part of the training process for both you and your dog. If your dog breaks the “place” command, calmly say “nope” or “uh-uh,” and guide them back to the surface using the leash and your body language. Do not reward them for breaking the command; simply reposition them. Consistent practice of the place command will undoubtedly lead to a well-trained dog, enabling you to enjoy social outings, manage household greetings calmly, and foster a more relaxed home environment.