
Teaching your dog fundamental commands like “sit,” “stay,” and “come” is more than just about obedience; it’s about building a strong bond, ensuring their safety, and fostering good manners in any situation. Whether you aspire for competitive events like AKC Rally or simply desire a well-behaved companion at home, these core commands are indispensable. Imagine greeting guests without your dog jumping, or having them wait patiently while you bring in groceries. A dog that reliably responds to “sit,” “stay,” and “come” offers peace of mind and makes daily life significantly smoother. This comprehensive guide will walk you through the steps to effectively teach these essential behaviors, empowering you to raise a confident, well-adjusted canine companion. For more general guidance on common behavioral challenges, learn how to stop a dog from jumping.
Teaching Your Dog to Sit: The Foundation of Obedience
The “sit” command is often the first step in a dog’s training journey and forms the basis for many other behaviors. It’s a natural position for dogs, making it relatively easy to teach with positive reinforcement. Mastering “sit” provides a starting point for calmness and focus, essential for commands like “stay.”
Here’s how to teach your dog to sit:
- Get Their Attention: Hold a high-value treat close to your dog’s nose.
- Lure into Position: Slowly move the treat upwards and slightly back over their head. As their nose follows the treat, their rear end will naturally lower to the ground.
- Mark and Reward: The instant your dog’s rear touches the ground, say “Sit!” clearly, give them the treat, and offer verbal praise like “Good sit!”
- Repeat and Practice: Practice this in short, frequent sessions (5-10 minutes, several times a day) in a quiet, distraction-free environment.
- Fade the Lure: Once your dog consistently sits with the lure, start making the hand motion smaller and eventually just use your hand signal and verbal cue.
Consistency is key. Always use positive reinforcement and keep training sessions fun and engaging for your dog.
Mastering the “Come” Command: Reliable Recall for Safety
The “come” command, also known as recall, is arguably one of the most vital commands for your dog’s safety. A reliable “come” can prevent dangerous situations, from your dog running into traffic to getting lost. It also strengthens your bond, as your dog learns that coming to you is always a positive and rewarding experience. For detailed steps on bringing your dog inside, read our guide on how to get your dog to come inside when called.
Here’s how to build a strong “come” command:
- Start in a Safe Environment: Begin in a quiet, enclosed space like your backyard or a long hallway.
- Make it Fun: Get down to your dog’s level, open your arms, and enthusiastically say “Come!” or your chosen recall word. Use a happy, inviting tone.
- Reward Instantly: The moment your dog reaches you, shower them with praise, a high-value treat, and perhaps a quick game or a belly rub. Make it the best thing that happens to them all day!
- Practice Short Distances: Start with a few feet and gradually increase the distance as your dog becomes more reliable.
- Avoid Negative Associations: Never use “come” to scold your dog or do something they dislike (e.g., bath time, leaving the park). The command should always be associated with positive outcomes.
- Add Distractions Gradually: Once reliable in quiet areas, slowly introduce mild distractions (e.g., another person, a soft toy) and gradually increase the challenge.
The Crucial “Stay” Command: Building Patience and Control
A solid “stay” command teaches your dog patience and self-control, allowing them to remain in a specific position until you give a release cue. Unlike “wait,” which implies a temporary pause, “stay” means your dog should hold their position indefinitely until explicitly released. This command is invaluable for various situations, from keeping your dog safe at a distance to simply having them wait calmly at the door.
Stay vs. Wait: Defining the Release Cue
Understanding the difference between “stay” and “wait” is crucial. “Wait” usually means to pause for a moment, often at a doorway or before getting food, and often implies the dog will proceed on their own once given the go-ahead or a break in the “waiting” situation. “Stay,” however, signifies holding a specific position (sit, down, or stand) until a specific release cue is given. If you ask your dog to “stay” and then leave the room for several minutes, they should ideally be in the exact same spot when you return.
A release cue is the word or signal you use to tell your dog they are free to move and that the behavior is complete. This cue helps your dog understand when they’ve successfully completed a task. You can use a release word for any behavior, effectively building an automatic “stay” into positions like “sit” or “down” until released. Common release words include “Okay,” “Free,” or “Release.” Be mindful when choosing your word; “Okay” is often used in daily conversation, so ensure you don’t accidentally release your dog.
Teaching Your Dog the Release
Before your dog can truly “stay,” they must understand what their release word means. This is the first step in building a successful “stay” behavior.
- Ask for a Basic Position: Begin by asking your dog to “sit” or “down.”
- Brief Hold, Then Release: After just one second, calmly offer your dog a treat and immediately say your chosen release word (e.g., “Free!”).
- Encourage Movement: Prompt your dog to get up and move after you’ve given the release and treat. You can walk away a step or two, gently pat your legs, or clap your hands to encourage them to break position.
- Praise for Movement: Offer praise when they move, reinforcing that moving after the release word is the correct action.
- Repeat Consistently: Practice these steps repeatedly until your dog clearly understands that the release word signals they are free to move. Start each session fresh, making it a positive experience.
Adding Duration to the Stay
Once your dog understands the release cue, you can start building the “three Ds” of duration, distance, and distraction. Begin with duration, keeping your dog close and minimizing any environmental distractions. This is also when you’ll introduce the “stay” cue.
- Initiate the Command: Ask your dog to “sit” or “down.”
- Give the “Stay” Cue: As soon as they are in position, hold your hand straight out in front of you (like a stop sign) and clearly say “Stay!”
- Short Hold and Reward: Wait only one or two seconds, then calmly give your dog a treat, followed by your release word, and praise for moving.
- Gradually Increase Time: In subsequent repetitions, increase the “stay” time by a few seconds. Always treat during the stay before the release.
- Multiple Rewards for Longer Stays: Once your dog can hold a “stay” for 10 seconds or more, you can start offering multiple treats during the stay. Calmly deliver a treat every few seconds, repeating your “stay” cue and hand signal periodically to remind them they are still working.
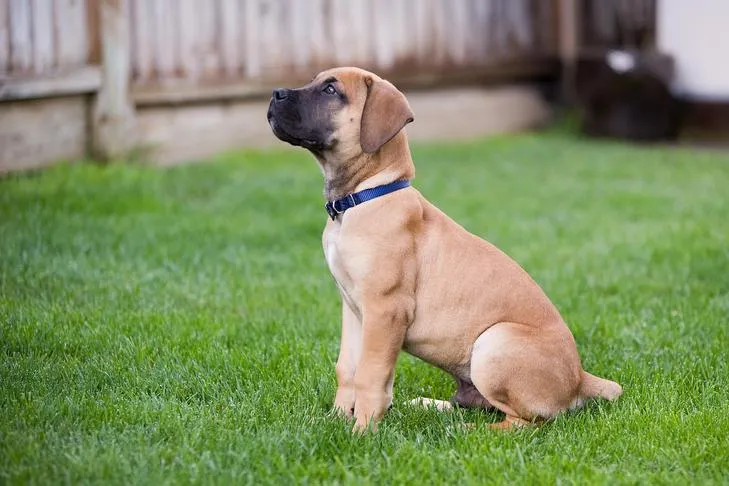
 Young Boerboel dog calmly performing a sit stay command in a garden.
It’s crucial to set your dog up for success by taking small, incremental steps rather than pushing their limits too quickly. Remember, “stay” can be a boring command for dogs, so always reward the stay itself, not just the release. If the release is always more rewarding, your dog might anticipate it and break their “stay” early. If you use a clicker for training, click during the “stay” just before offering the treat, but do not click when they move on the release. If your dog associates the click with the end of the behavior, repeat the “stay” cue and hand signal after the click and treat to reinforce that the command is ongoing.
Troubleshooting the “Stay” Command
Even with careful training, dogs can sometimes break their “stay.” Here’s how to troubleshoot:
- Watch Your Body Language: Dogs are highly sensitive to body language. Any subtle movement on your part, especially moving backward, might inadvertently lure them to break position. Your dog is accustomed to being in front of you for training, so be mindful of how you move.
- Avoid Punishment: If your dog breaks their “stay” before being released, do not punish them. It’s likely that you either moved in a way that encouraged them to move, or you asked for too much too soon.
- Reset and Restart: Simply guide your dog back to the starting position, repeat your cues, and start over. Take a few steps back in your training plan if necessary, returning to a duration or environment where they were previously successful. This ensures continued positive reinforcement and builds their confidence.
Introducing Distractions and Distance
Only begin adding distractions and distance after your dog can reliably hold a “stay” for at least 30 seconds in a quiet environment. As increasing distance naturally introduces some distraction, it’s often best to introduce it last. When you start working on a new “D,” ease up on your expectations for the others.
For example, when you begin adding distractions, even if your dog can hold a 2-minute “stay,” revert to asking for only a few seconds when the distraction is present. Start with minor distractions like clapping your hands softly, then gradually build up to more significant distractions such as rolling a toy past them. Once your dog can “stay” through various distractions, you can then progressively increase the duration again. For advanced training, consider practicing in different environments, including walks, where your dog can learn how to get your dog from pulling on the leash and teach your dog to stop pulling on the leash.
Once your dog can achieve 30-second “stays” amidst distractions, you are ready to add distance:
- Initial Step Back: Ask your dog to “stay,” then take just one single step backward.
- Return and Reward: Immediately return to your dog, give them a treat while they are still in position, and then release them.
- Gradual Increase: Repeat these steps, but this time take two steps away before returning to treat and release.
- Expand the Distance: Slowly increase the distance, always returning to your dog to reward, until you can walk to the edge of the room or even out of sight briefly.Alert Boxer puppy practicing the 'stay' command on an elevated crate.
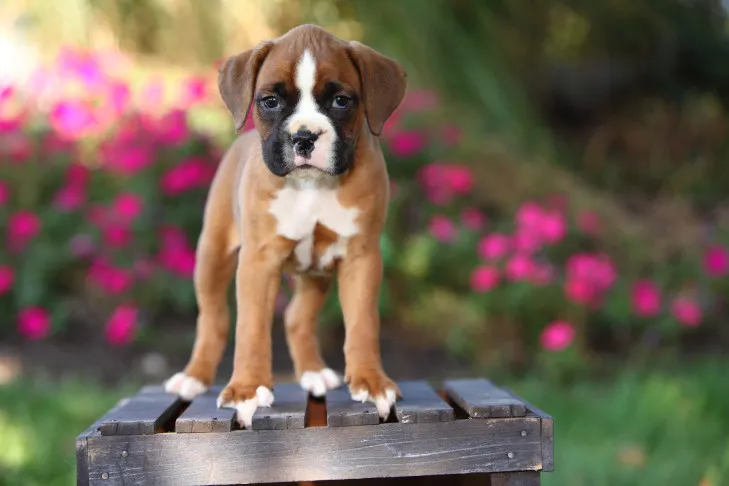 Alert Boxer puppy practicing the 'stay' command on an elevated crate.
Always return to your dog before releasing them. Releasing from a distance prevents you from rewarding them in position, and they might start to associate a certain distance with the cue to break their “stay” and approach you. With consistent practice, slowly combining duration, distance, and distraction, your dog will develop a rock-solid “sit,” “stay,” and “come” that will serve them well in any situation.
Conclusion
Mastering the foundational commands of “sit,” “stay,” and “come” is a rewarding journey that enriches the relationship between you and your dog. These commands are not merely tricks; they are vital tools for communication, safety, and fostering a well-behaved companion. By patiently applying positive reinforcement, starting with the basics, and gradually introducing duration, distance, and distractions, you can empower your dog to confidently navigate their world and respond reliably to your cues. Remember to keep training sessions short, fun, and consistent, always ending on a positive note. Embrace the process, celebrate small victories, and enjoy the profound bond you build through effective training.