
Every dog owner loves to spoil their furry friends, and what better way to show your affection than with wholesome, Homemade Peanut Butter Dog Treats? These simple yet delicious treats are incredibly easy to make with just three basic ingredients, ensuring your canine companion gets a nutritious snack free from artificial additives. Perfect for everyday rewards or a special celebration, this recipe will quickly become a favorite in your household, allowing you to give your beloved dog a treat made with love and care. Many pet owners are looking for healthy alternatives to store-bought options, and creating these treats at home offers complete control over what goes into your dog’s diet. If you’re wondering where to find quality ingredients or other delightful options, you might even consider exploring local options for home made dog treats near me for comparison or inspiration.
Why Homemade Dog Treats Are the Best Choice for Your Furry Friend
Opting for homemade dog treats provides numerous benefits for both you and your canine. The primary advantage is the complete control you have over the ingredients. Unlike many commercial treats that can contain fillers, artificial colors, preservatives, or even ingredients that are unhealthy for dogs, making your own ensures you know exactly what your pet is consuming. This is particularly crucial for dogs with allergies or sensitivities, as you can easily tailor the recipe to avoid specific irritants.
Freshness is another key factor. Homemade treats are made on demand, meaning your dog gets to enjoy them at their peak freshness, often leading to better taste and nutrient retention. Furthermore, the act of baking for your dog can be a rewarding experience, strengthening the bond you share. It’s a thoughtful gesture that shows your pet they are cherished, making treat time more special. For dogs who might be picky eaters or are currently experiencing a loss of appetite, offering a familiar, delicious, and homemade treat can sometimes entice them to eat, especially if you’re also wondering what can you give a dog that refuses to eat in general.
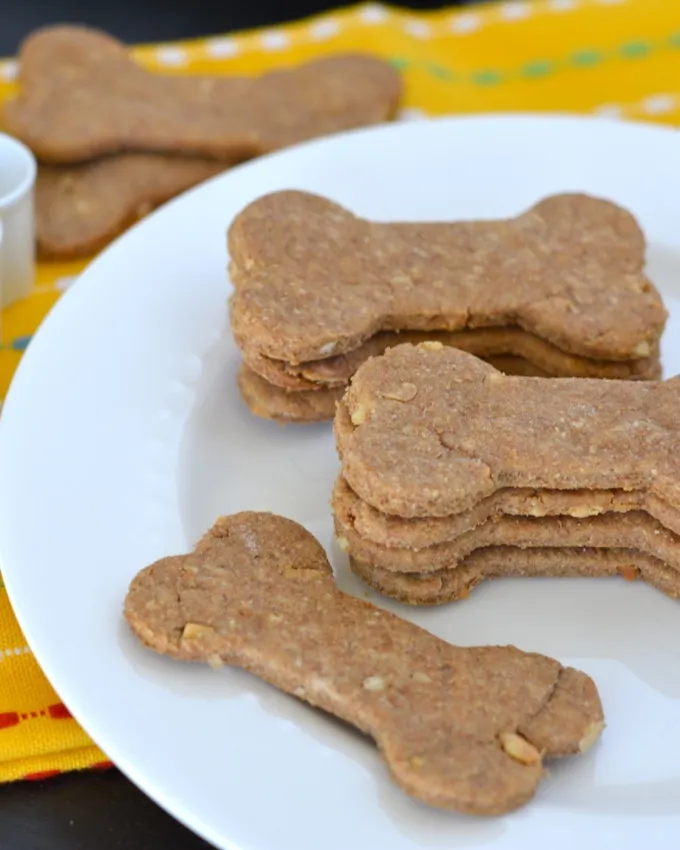 Finished homemade peanut butter dog treats cooling on a wire rack
Essential Ingredients and What You Need to Know
This recipe relies on just three basic ingredients, but it’s vital to choose them carefully to ensure your dog’s safety and health.
- Whole Wheat Flour: This provides the structure for your treats. Whole wheat flour is generally a good choice for dogs as it offers more fiber and nutrients than refined white flour. For dogs with gluten sensitivities or allergies, you can easily substitute whole wheat flour with other dog-safe alternatives like oat flour, rice flour, or chickpea flour. Always introduce new ingredients slowly to monitor your dog’s reaction.
- Peanut Butter: The star ingredient that gives these treats their irresistible flavor. However, it’s absolutely critical to use xylitol-free peanut butter. Xylitol is an artificial sweetener that is highly toxic to dogs, even in small amounts, and can cause a rapid drop in blood sugar, liver failure, and even death. Always check the ingredient list on your peanut butter jar to ensure it does not contain xylitol. Opt for natural, unsweetened peanut butter with as few ingredients as possible – ideally just peanuts.
- Milk: Milk helps bind the ingredients together. Most dogs can tolerate small amounts of cow’s milk, but some may be lactose intolerant, leading to digestive upset. If your dog is sensitive to dairy, you can use lactose-free milk, goat’s milk, or a non-dairy alternative like unsweetened almond milk. Water can also be used as a simple substitute if you prefer. Knowing what food not to feed your dog is essential, and being mindful of ingredients like xylitol and excessive dairy is a good start. For those looking to avoid peanut butter altogether, there are many fantastic dog treat recipes without peanut butter available.
Step-by-Step Guide to Baking Perfect Peanut Butter Dog Treats
Making these treats is a straightforward process that even novice bakers can master. Follow these simple steps for a batch of delicious, tail-wagging rewards.
- Preheat Oven: Begin by preheating your oven to 350°F (175°C). This ensures the oven is at the correct temperature when your treats are ready to go in, allowing them to bake evenly.
- Combine Ingredients: In a large mixing bowl, combine the whole wheat flour, peanut butter, and milk. Use a sturdy spoon or your hands to mix everything together until a cohesive dough forms. It may be a bit crumbly at first, but continue kneading until it comes together into a firm ball.
- Prepare Work Surface: Lightly flour a clean work surface, such as a countertop or a large cutting board. This will prevent the dough from sticking as you roll it out.
- Roll Out Dough: Place the dough ball on the floured surface and use a rolling pin to roll it out to approximately ¼-inch thickness. This thickness is ideal for creating treats that are crunchy but not too hard for your dog to chew.
 Dog treat dough being rolled out on a floured surface
 - Cut Shapes: Use dog-themed cookie cutters (like bones, paws, or circles) to cut the dough into desired shapes. If you don’t have cookie cutters, you can use the rim of a small glass or simply cut the dough into squares with a knife.A selection of dog-themed cookie cutters ready for use
- Arrange on Baking Sheet: Carefully transfer the cut dough shapes to an ungreased cookie sheet. Leave a little space between each treat to allow for even baking.
- Re-roll Scraps: Gather any dough scraps, knead them back into a ball, and repeat the rolling and cutting process until all the dough has been used. This ensures no delicious peanut butter goodness goes to waste!
- Bake: Place the cookie sheets in the preheated oven and bake for 15-20 minutes. The treats should be slightly browned and firm to the touch when ready. Baking time may vary slightly depending on the size and thickness of your treats.
- Cool Completely: Once baked, remove the treats from the oven and let them cool completely on a wire rack. This step is crucial, as it allows the treats to harden and achieve the perfect crunchy texture.
 Dog treat dough being rolled out on a floured surface
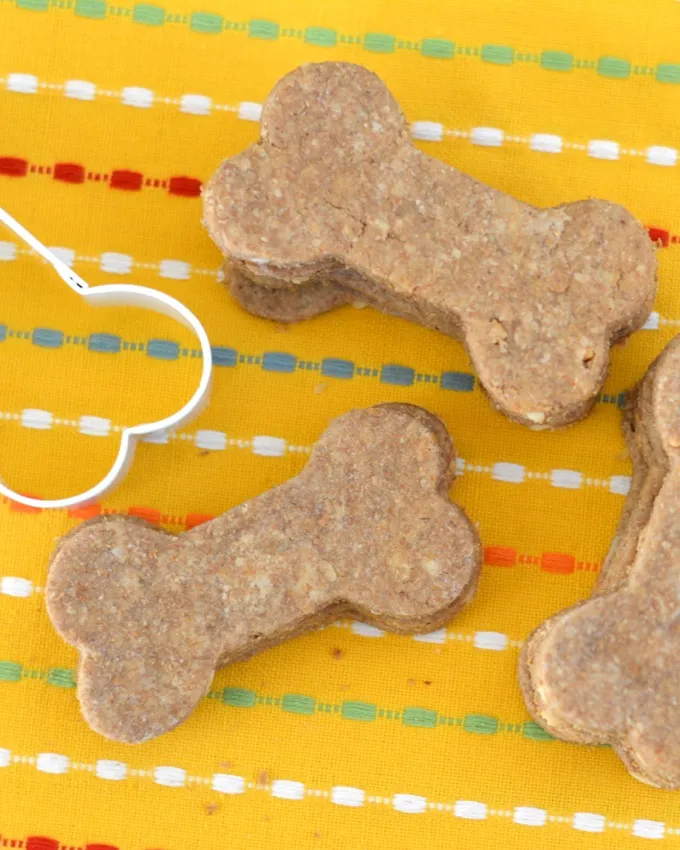 A selection of dog-themed cookie cutters ready for use
Storage, Serving, and Safety Tips for Your Canine Companion
Proper storage is key to keeping your homemade peanut butter dog treats fresh and delicious. Once fully cooled, store them in an airtight container at room temperature for up to one week. For longer preservation, you can refrigerate them for up to two weeks or freeze them for up to two months. Freezing is an excellent option for making larger batches and having treats on hand whenever you need them.
When it comes to serving, remember that these are treats and should be given in moderation as part of a balanced diet. They are not a meal replacement. The number of treats your dog can have will depend on their size, activity level, and overall dietary needs. Always ensure fresh water is available for your dog, especially after they enjoy a crunchy treat.
It’s also important to consider your dog’s individual health. If your dog has any underlying health conditions, allergies, or specific dietary requirements, it’s always best to consult your veterinarian before introducing new foods or homemade treats. For instance, if your dog has conditions like colitis, understanding my dog has colitis what should i feed him involves specific dietary considerations that may go beyond these simple treats. Your vet can provide tailored advice to ensure these treats are a safe and healthy addition to your dog’s diet.
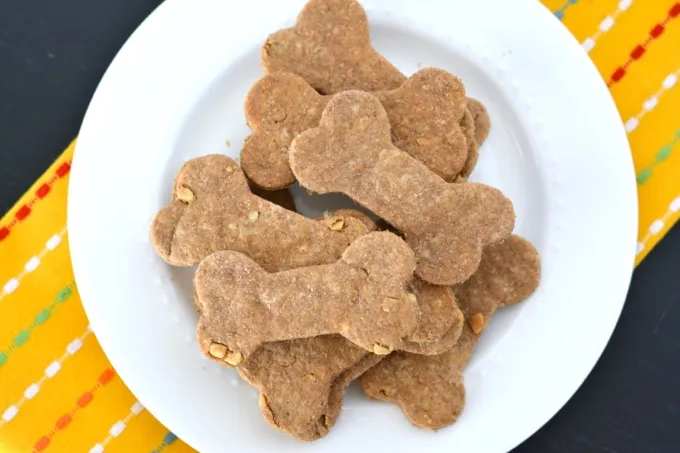 An excited dog looking intently at a plate of homemade peanut butter dog treats
Conclusion
Baking homemade peanut butter dog treats is a rewarding experience that offers a healthy, delicious, and personalized snack for your beloved canine. With just three simple, carefully selected ingredients, you can create a batch of wholesome treats free from unwanted additives. Not only will your dog adore the taste, but you’ll also have the peace of mind knowing exactly what they’re consuming. Remember to prioritize safety by using xylitol-free peanut butter and considering your dog’s individual dietary needs. So, roll up your sleeves, gather your ingredients, and get ready to bake some love for your best friend. Your dog’s happy tail wags will be all the thanks you need!