
In a world where pet wellness is paramount, providing our beloved canine companions with nutritious and delicious snacks has become a top priority for many dog owners. Forget store-bought options filled with questionable ingredients; making Healthy Homemade Dog Treats is not only a fantastic way to ensure your pup gets the best, but it’s also incredibly rewarding and surprisingly simple. This guide will walk you through crafting delightful, allergen-friendly treats that are sure to make tails wag and keep your dog healthy and happy. You might even find some home made dog treats near me if you’re looking for inspiration!
Why Opt for Healthy Homemade Dog Treats?
Choosing to bake treats for your dog offers a multitude of benefits that extend beyond just taste. Firstly, you gain complete control over the ingredients, allowing you to avoid common allergens, artificial additives, and unwanted preservatives often found in commercial dog snacks. This is particularly crucial for dogs with sensitive stomachs or specific dietary needs. Secondly, it’s a remarkably cost-effective solution. With just a few staple ingredients, you can produce a large batch of treats for a fraction of the price of store-bought alternatives. Lastly, the act of creating something special for your furry friend fosters a deeper bond and brings immense joy to both of you.
Essential Ingredients for Wholesome Dog Treats
The beauty of this recipe lies in its simplicity, requiring just three core ingredients that are both nutritious and safe for dogs. Each component plays a vital role in creating a delicious and healthy snack.
The Sweetness of Sweet Potato
Sweet potatoes are a powerhouse of nutrition, packed with vitamins (A, C, B6), minerals, and dietary fiber, which aids in healthy digestion. They offer a natural sweetness that dogs adore. For this recipe, you’ll need cooked and mashed sweet potato.
Tip for Preparation: To easily prepare sweet potatoes, you can peel and boil cubed pieces until soft, then mash them. Alternatively, bake whole sweet potatoes at 425°F (220°C) for 40-55 minutes until soft. Once cooled, remove the skin. Mashed sweet potato can be frozen in portions for quick access later, making your next batch of treats even faster to prepare.
The Creaminess of Peanut Butter
Peanut butter is a beloved doggie delight, providing healthy fats, protein, and vitamins. However, it’s crucial to use all-natural peanut butter where the only ingredient listed is peanuts. Many commercial peanut butter brands contain xylitol, an artificial sweetener that is highly toxic to dogs, even in small amounts. Always double-check the label to ensure it’s xylitol-free and contains no other harmful additives or sweeteners. If you’re looking for a variation, consider homemade dog treats no peanut butter by substituting with another dog-safe puree.
The Versatility of Oat Flour
Oat flour is an excellent choice for dog treats, especially for pups sensitive to wheat. It’s naturally gluten-free and provides additional fiber. Making oat flour is incredibly simple: just grind regular quick or rolled oats in a food processor or blender until a fine flour consistency is achieved. If your dog doesn’t have a wheat sensitivity, feel free to substitute oat flour with whole wheat flour.
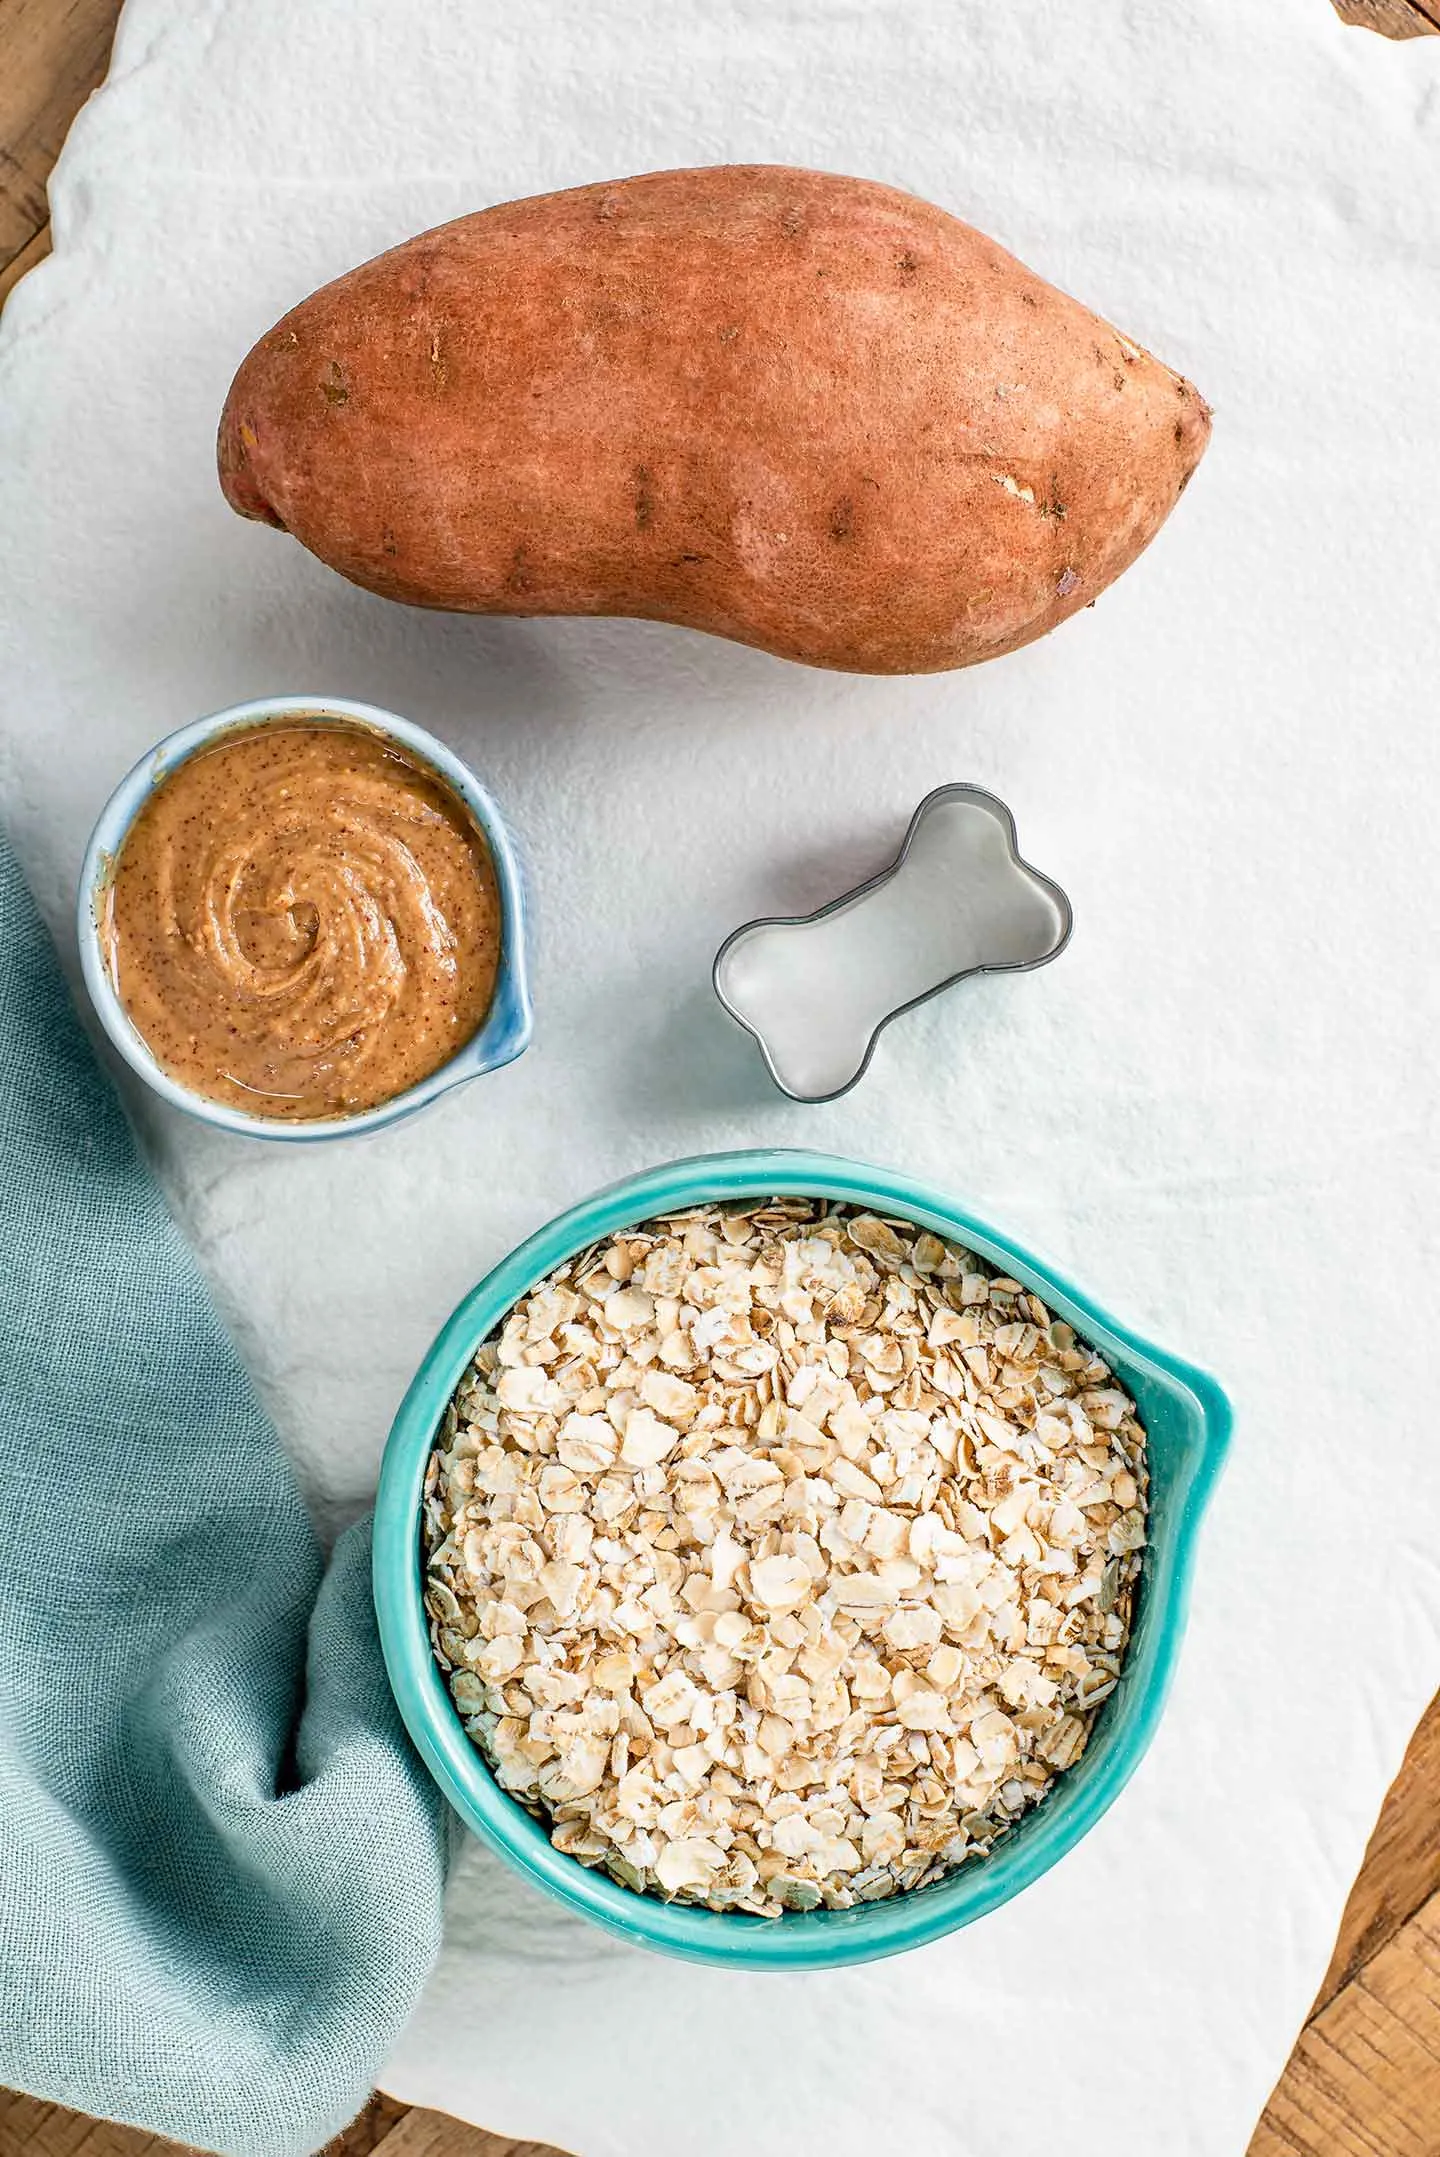 Top down view of a whole sweet potato, a small bowl of peanut butter, a measuring cup of oats and a small dog bone biscuit cutter.### Pumpkin Puree as a Healthy Alternative
For an even simpler option that bypasses the need to cook sweet potatoes, unsweetened canned pumpkin puree is a fantastic substitute. Dogs often love the taste of pumpkin, and it’s highly beneficial for their digestive health. Just like with peanut butter, ensure you are using pure pumpkin puree and not pumpkin pie filling, which contains added sugars and spices that are not suitable for dogs. The ingredient list should only say “pumpkin.”
Crafting Your Healthy Homemade Dog Treats: A Step-by-Step Guide
Making these treats is surprisingly straightforward, even for novice bakers. The entire process from start to finish is quick, allowing you to spoil your pup in no time.
1. Prepare Your Workspace and Ingredients
Before you begin, preheat your oven to 400°F (200°C) and line a baking sheet with parchment paper. Gather your mashed sweet potato (or pumpkin puree), all-natural peanut butter, and oat flour (or whole wheat flour).
 Top down view of ingredients on a white tray. Mashed sweet potato fills a small bowl next to small bowls of peanut butter and oats ground into a fine flour.### 2. Mix the Wet Ingredients
In a medium-sized bowl, combine the mashed sweet potato (or pumpkin puree) and the all-natural peanut butter. Stir them together thoroughly until well incorporated. This forms the sticky, flavorful base for your treats.
3. Incorporate the Flour
Gradually add the oat flour (or whole wheat flour) to the wet mixture. Begin by stirring with a spoon, then switch to using your hands as the dough becomes stickier. Knead until all ingredients are fully combined and you have a cohesive dough ball.
Adjusting Dough Consistency:
- Too Dry: If your dough appears crumbly or too dry, add a small splash of water, unsweetened oat milk, or a tiny bit more peanut butter or sweet potato/pumpkin puree until it reaches a workable consistency.
- Too Sticky: If the dough is too sticky to handle, sprinkle in a dash more flour and continue kneading until it firms up.
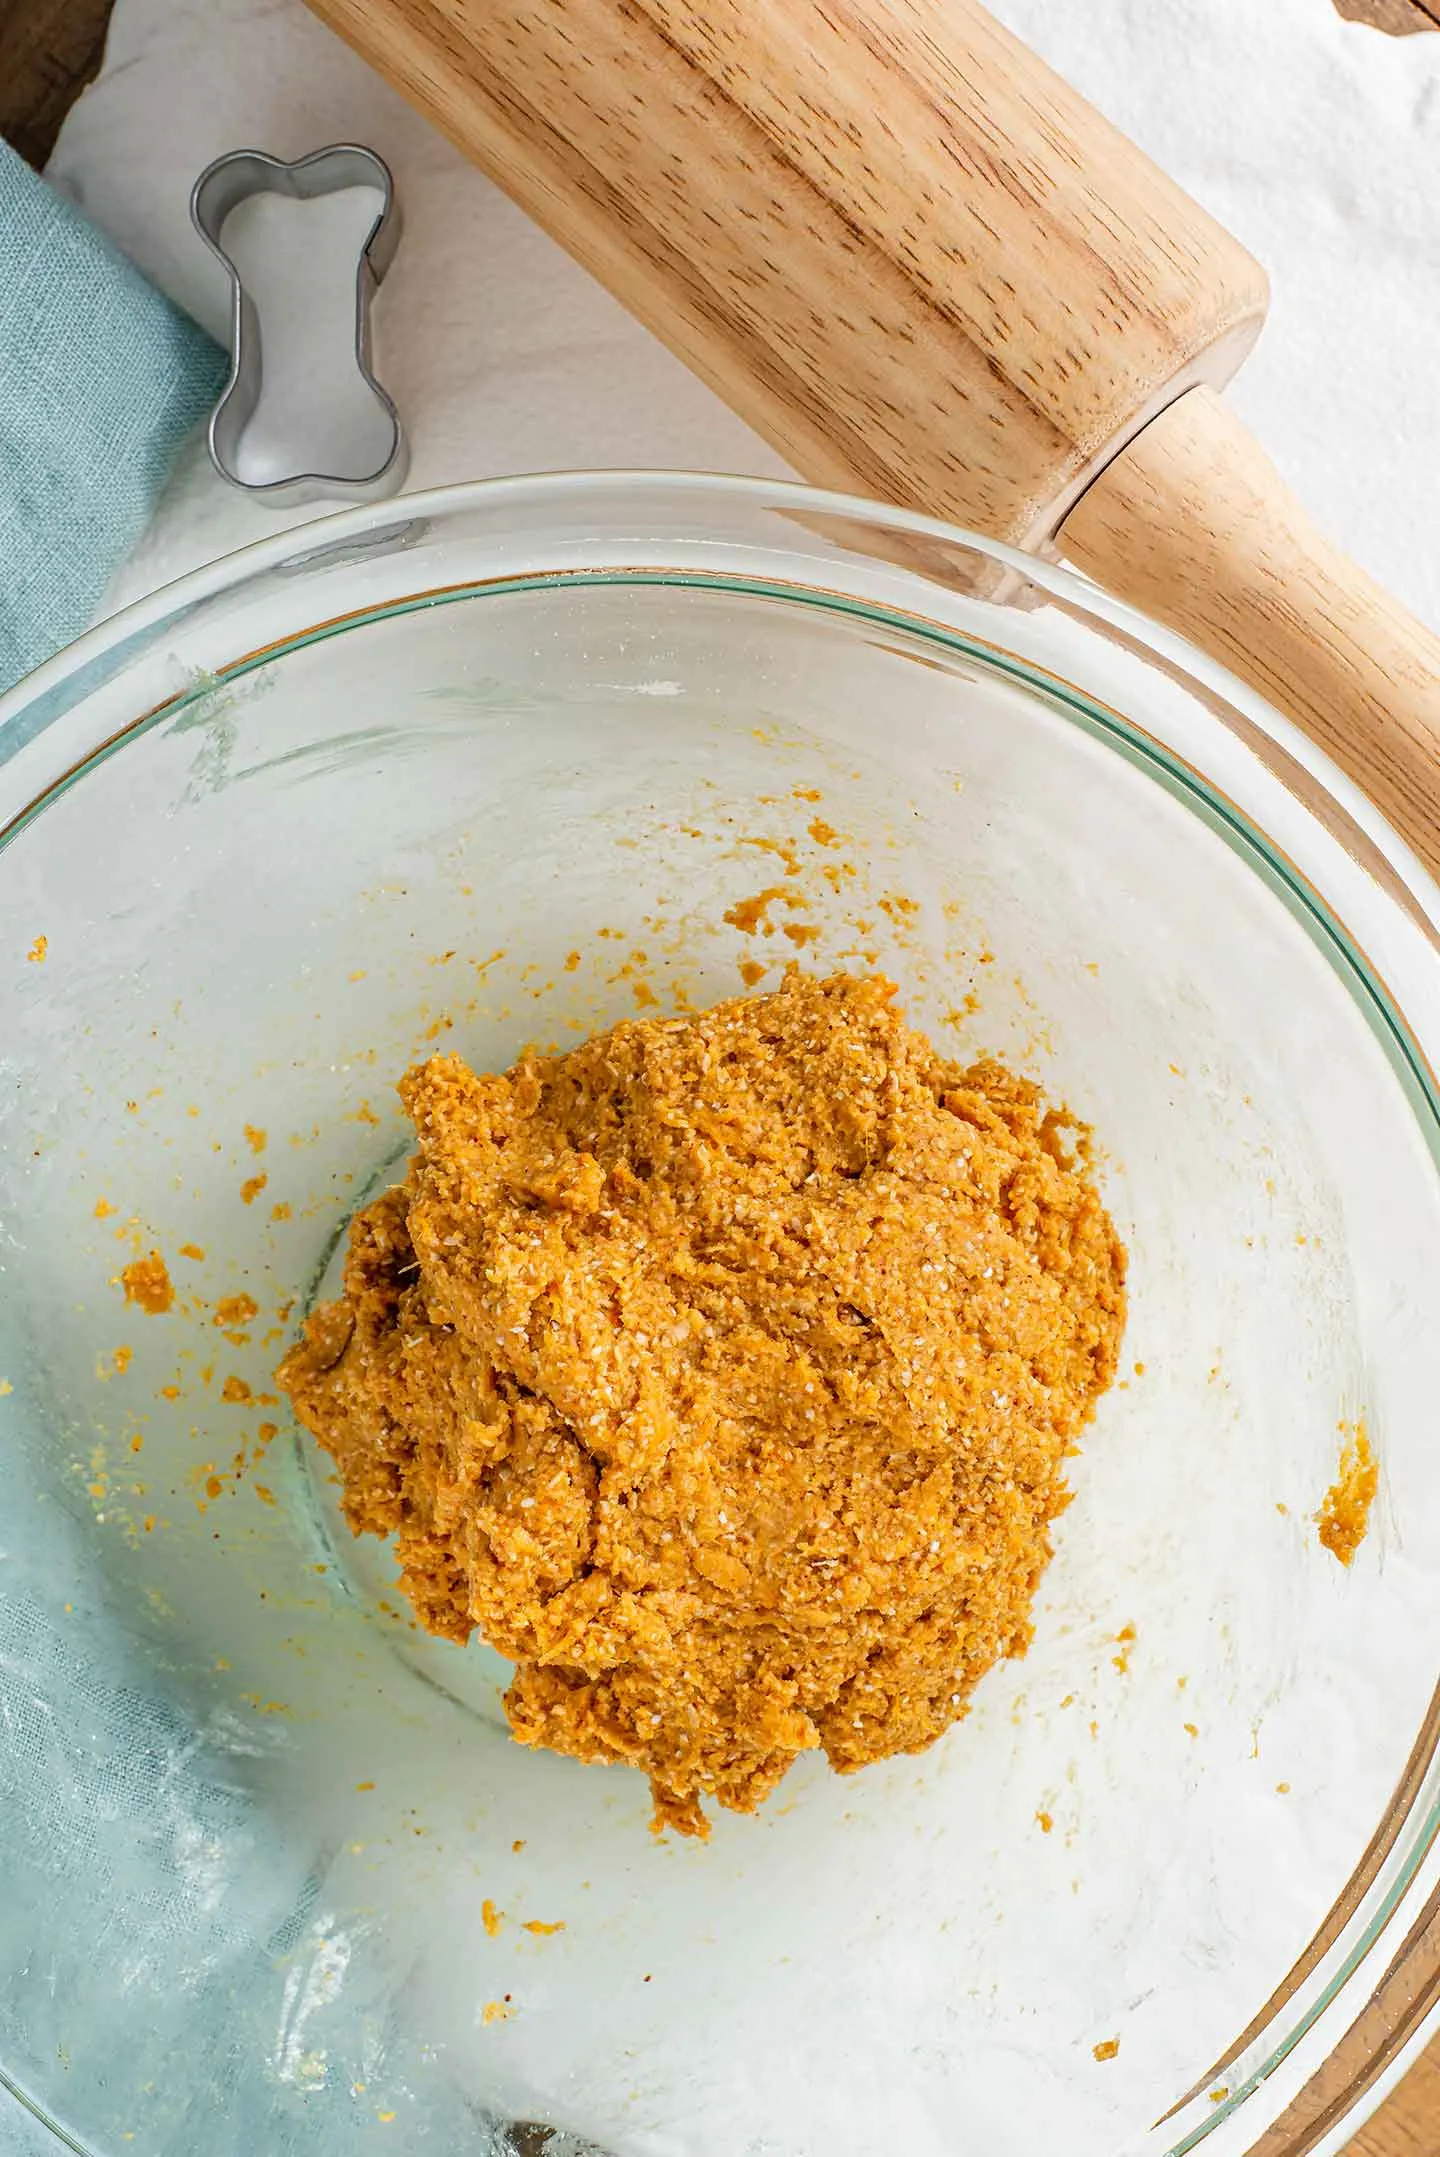 Top down view of the finished dog treat dough kneaded into a ball.### 4. Roll and Cut Your Treats
Transfer the dough onto a silicone mat or a piece of wax paper. Using a rolling pin, roll the dough out to a thickness of between ¼ inch and ½ inch (approximately 0.6 to 1.3 cm). The thickness you choose at this stage will be the final thickness of your baked treats, as there are no leavening agents in this dough.
Tips for Rolling Sticky Dough:
- Place another piece of wax paper over the dough before rolling to prevent it from sticking to your rolling pin.
- Don’t be afraid to rework the dough if it crumbles; simply gather it, add a tiny bit more wet ingredient, and re-roll.
Now for the fun part! Use a dog bone-shaped cookie cutter, or any cookie cutter you prefer, to cut out your treats. For larger dogs, use a bigger cutter. If you don’t have a cookie cutter, simply slice the rolled dough into small square or rectangular pieces. If you prefer a simpler method, you could explore homemade soft dog treats no bake recipes.
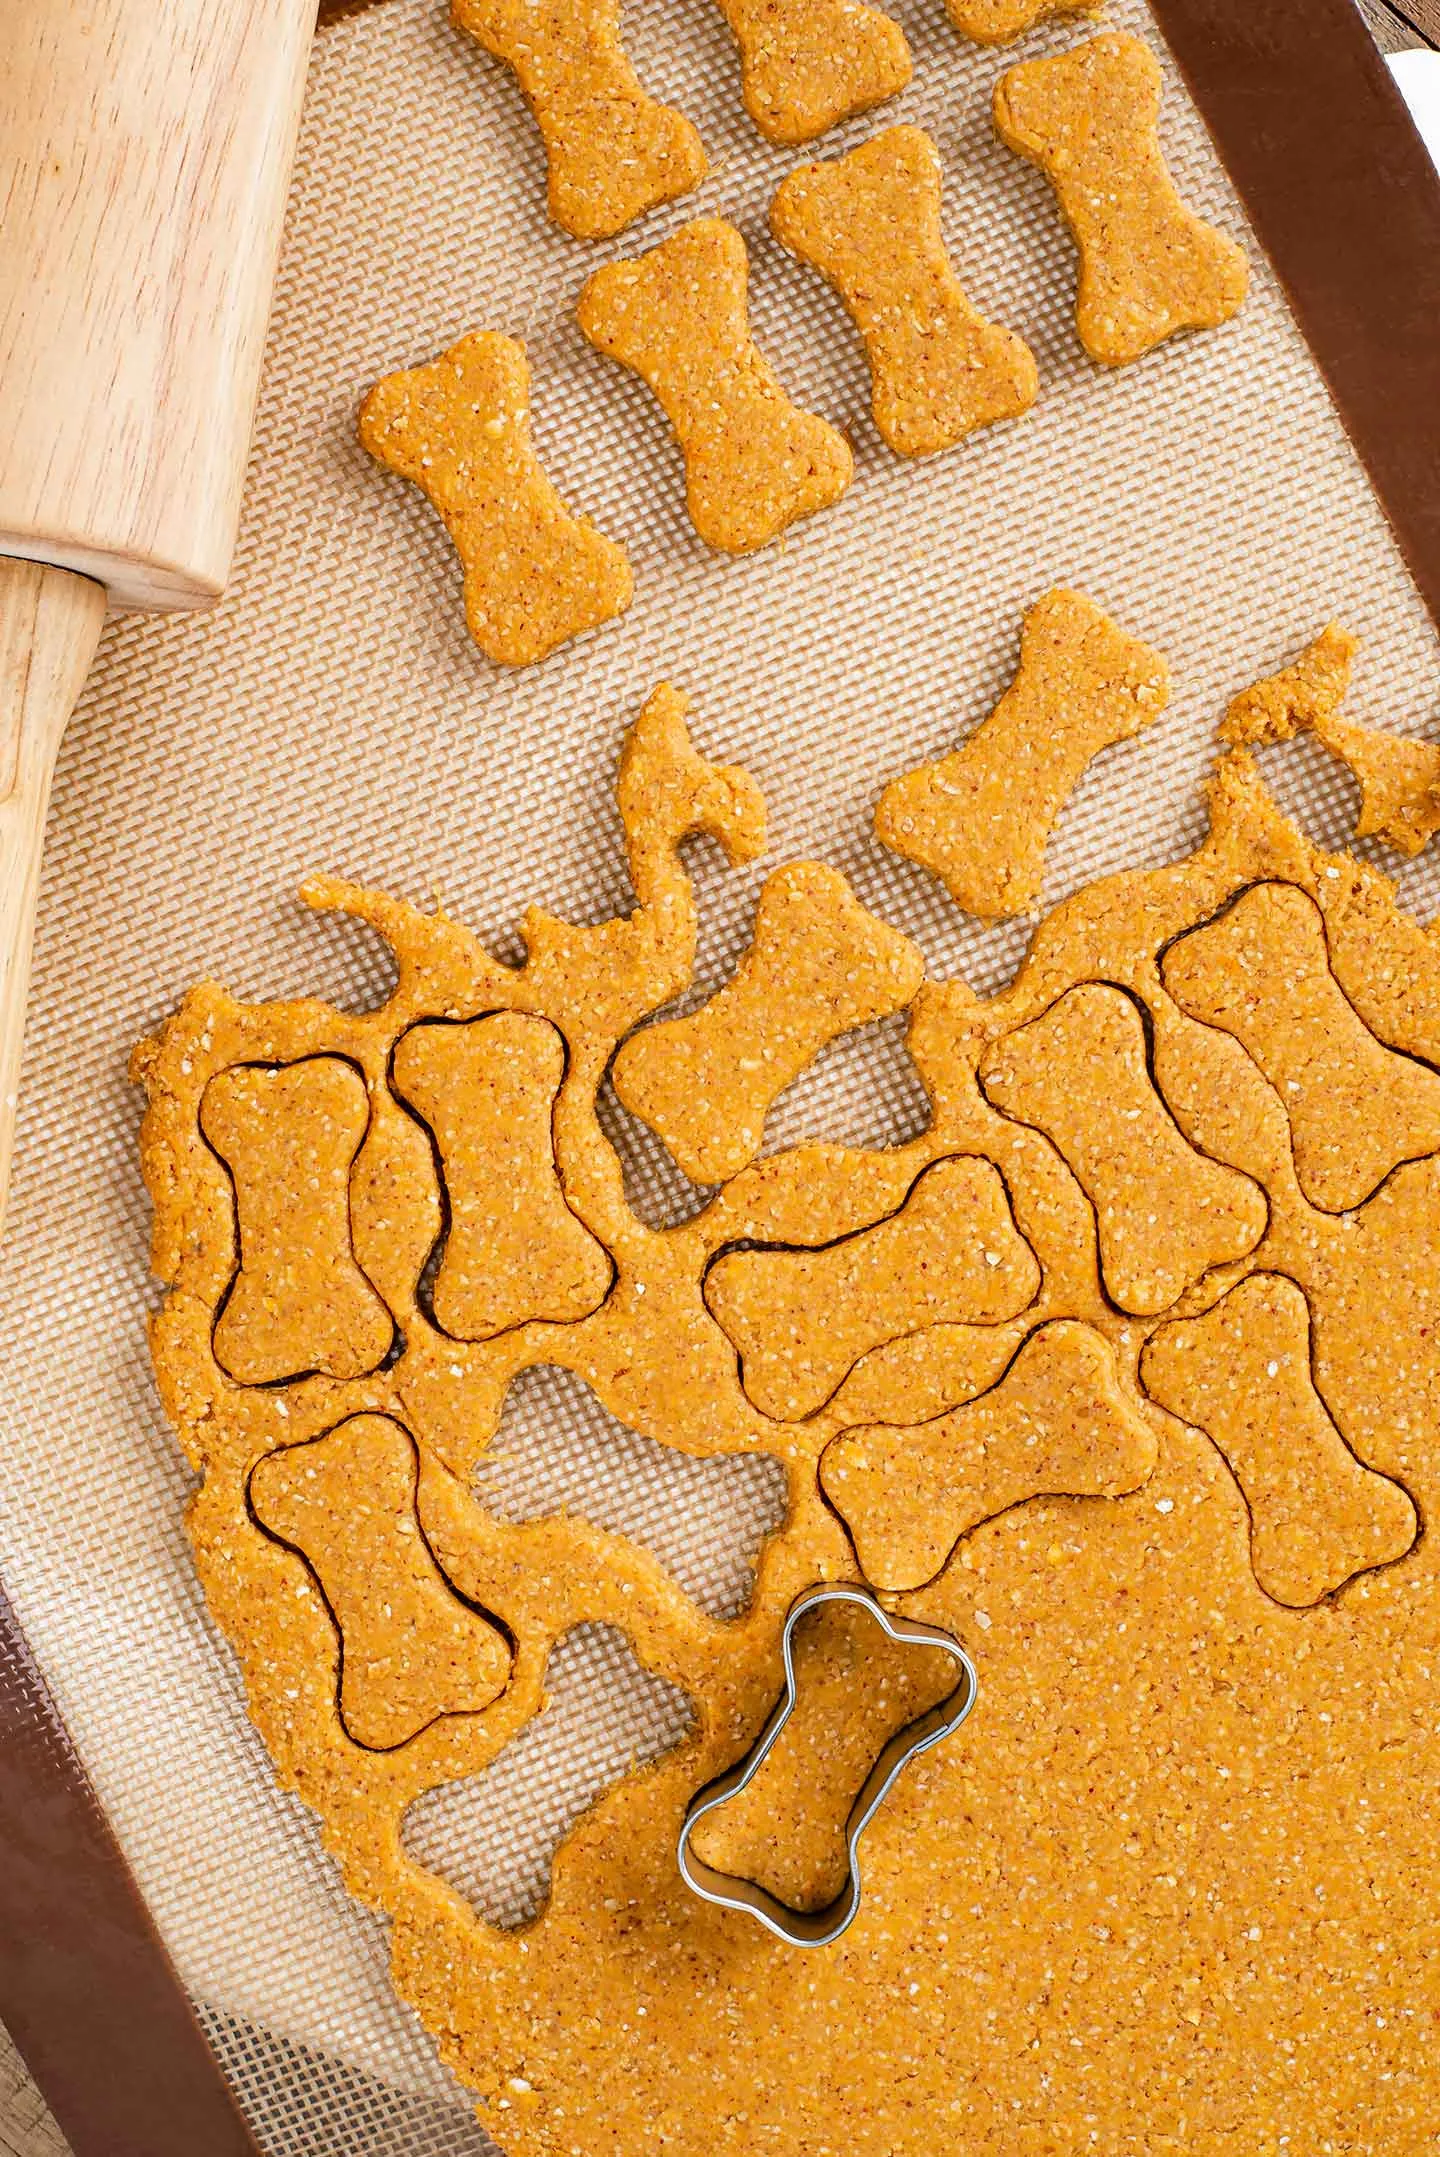 Top down view of rolled dog treat dough on a silicone mat with a rolling pin. A small dog bone cookie cutter has cut biscuit shapes into the dough.### 5. Baking for the Perfect Texture
Carefully transfer the cut-out treats to your prepared baking sheet. Bake in the preheated oven at 400°F (200°C) for 10-15 minutes. The baking time will determine the texture of your treats:
- Soft Treats: Bake for 10-12 minutes for a chewier, softer consistency that dogs often enjoy as an instant gratification snack.
- Crunchier Treats: Bake for the full 15 minutes for a crispier treat that will take your dog a little longer to savor.
Allow the treats to cool completely on the baking sheet before storing them. If you’re interested in making treats with a different preparation method, you might look into homemade dehydrated dog treats in oven.
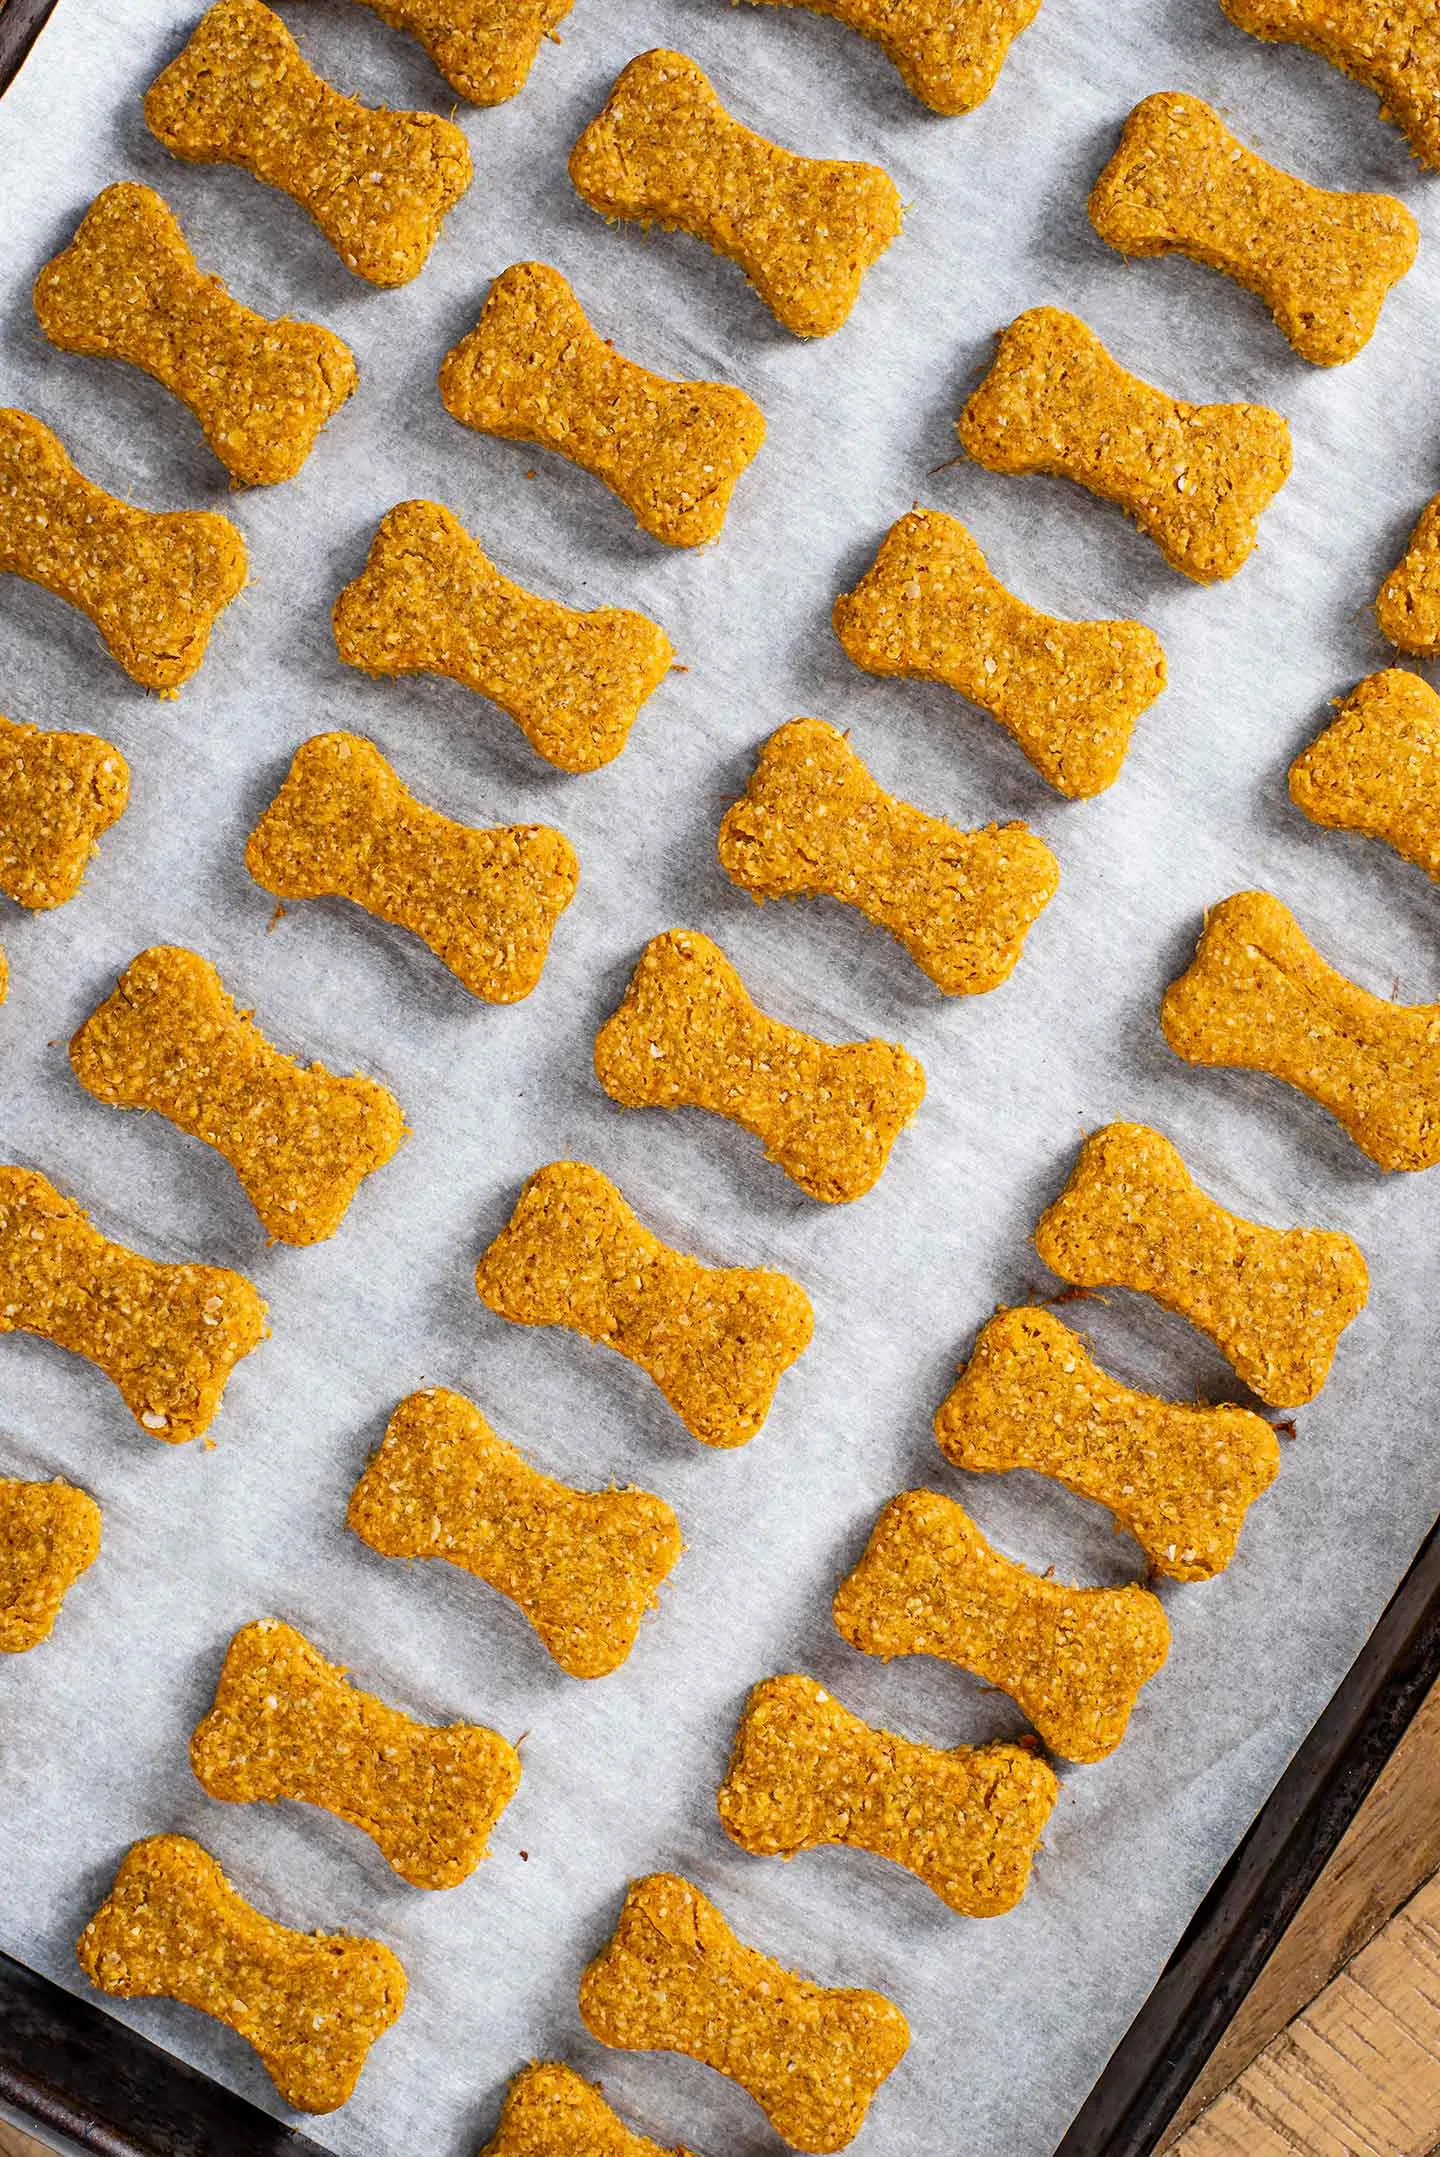 Top down view of baked home-made dog treats, in the shape of small dog bones, lined up on a baking tray.## Storing Your Healthy Homemade Dog Treats
Once fully cooled, store your homemade dog treats in an airtight container. They will stay fresh in the refrigerator for up to one week. For longer storage, you can freeze them for up to two months. Freezing is an excellent way to prepare a large batch and have healthy treats on hand whenever your dog deserves a special reward. For alternative storage and preparation ideas, exploring homemade frozen dog treats recipes vet approved can provide further inspiration.
The Cost-Effective Joy of Homemade Treats
One of the most appealing aspects of this recipe is its incredible affordability. This recipe yields approximately 40-50 small dog bone treats for around $0.83 CAD. Compare this to the cost of a small bag of store-bought treats, which can easily exceed $10, and the savings are substantial. Making these treats not only shows your dog how much you care but also gives your wallet a welcome break.
Conclusion
Baking healthy homemade dog treats is a rewarding endeavor that combines love, nutrition, and savings. With just three simple ingredients – sweet potato, all-natural peanut butter, and oat flour – you can create a batch of wholesome, allergen-friendly snacks that your dog will adore. This guide provides all the necessary steps, tips, and considerations to ensure your treats are not only delicious but also safe and beneficial for your canine companion. So, roll up your sleeves, gather your ingredients, and get ready to shower your best friend with some homemade love. Your dog’s happy barks and wagging tail will be all the thanks you need!