
Every dog owner knows the struggle: a happy eater can be a messy eater, leaving behind water splashes, kibble crumbs, and general chaos around their food and water bowls. This isn’t just an unsightly mess; it can damage your floors, especially wood or laminate. Constantly wiping up after every meal becomes a tiresome chore. But what if there was an easy, stylish, and effective solution? Enter the DIY Dog Bowl Mat – a practical sewing project that will protect your floors and simplify your life. Making your own personalized mat ensures a perfect fit for your pet’s dining area, offering superior absorbency and a waterproof barrier. It’s an ideal project for beginners and a game-changer for maintaining a clean home.
Why a DIY Dog Bowl Mat is a Must-Have for Every Pet Parent
A well-designed dog bowl mat isn’t just a luxury; it’s an essential item for any household with a canine companion. The primary benefit is floor protection. Water spills can warp wood, stain carpets, and degrade laminate flooring over time, leading to costly repairs. An absorbent mat acts as a first line of defense, soaking up spills before they reach your floors. Furthermore, many dogs, particularly those with longer fur around their mouths, tend to drip water after drinking, creating puddles that can go unnoticed until damage is done. A dedicated mat catches these drips, keeping the area around the bowls dry and hygienic.
Beyond protection, these mats simplify cleanup significantly. Instead of scrubbing the floor, you can simply pick up the mat, shake off crumbs, and toss it into the wash. This makes daily maintenance a breeze. Finally, a DIY mat allows for full customization. You can choose fabrics that match your home décor, reflect your dog’s personality, or simply use up fabric scraps. This personal touch adds a charming element to your pet’s feeding station, making it both functional and aesthetically pleasing. Consider adding a homemade mat to your routine; it will not only save your floors but also provide a cleaner, more enjoyable feeding experience for your beloved pet.
Choosing the Best Materials for Your DIY Dog Bowl Mat
The success and durability of your homemade dog bowl mat largely depend on selecting the right materials. A combination of three layers provides the ideal balance of absorbency, strength, and waterproofing.
For the top fabric, cotton canvas is an excellent choice. It’s sturdy enough to withstand daily use, highly absorbent to catch spills, and comes in a vast array of colors and patterns, allowing you to personalize your mat perfectly. Its woven structure helps to trap kibble and debris effectively.
The middle layers are crucial for both structure and absorbency. Start with a layer of lightweight fusible interfacing. This adds rigidity and stability to the mat, preventing it from bunching up. On top of the interfacing, add a layer of fusible fleece. Fleece is incredibly absorbent, acting like a sponge to soak up any liquid that penetrates the top fabric. The “fusible” nature of both the interfacing and fleece means they can be ironed directly onto the canvas, simplifying the sewing process.
Finally, the bottom layer must be completely waterproof to ensure no moisture seeps through to your floor. Excellent options include laminated cotton, vinyl, oilcloth, or pleather. These materials create an impermeable barrier, safeguarding your flooring from even the largest spills. For this project, vinyl was used, proving to be a highly effective and durable choice. When selecting your waterproof material, consider its flexibility and ease of sewing; some thicker vinyls can be challenging for standard sewing machines. With the right combination of these materials, your DIY dog bowl mat will be a robust, long-lasting solution for a cleaner feeding area.
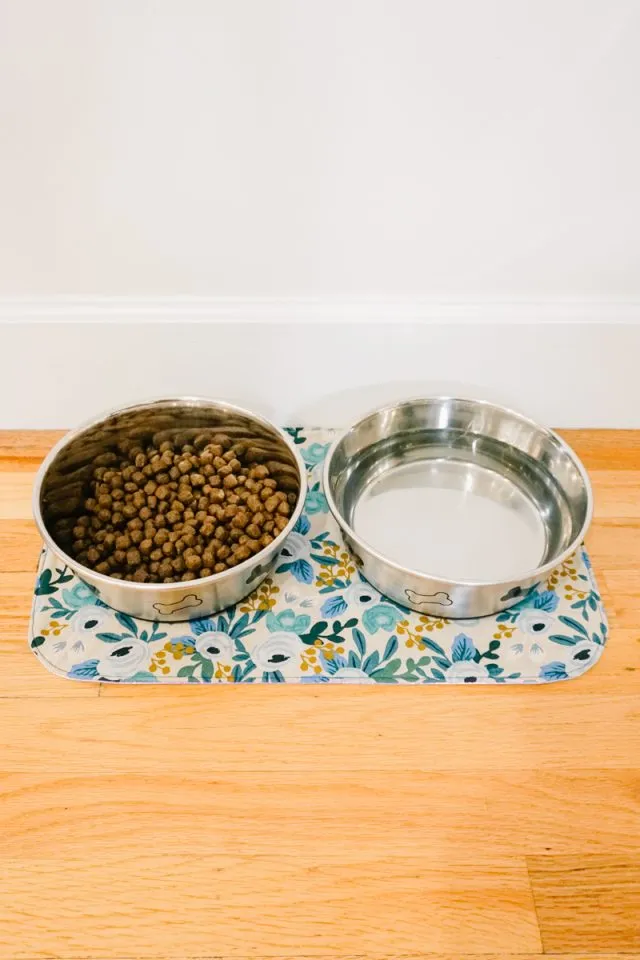 Finished DIY Dog Bowl Mat with two ceramic bowls on a wood floor
Step-by-Step Guide: Crafting Your Own Dog Bowl Mat
Creating your own dog bowl mat is a rewarding and straightforward sewing project, perfect for beginners. Here’s what you’ll need and how to make it.
Supplies
- Free DIY Dog Bowl Mat Sewing Pattern: This pattern is designed to comfortably accommodate two 8-inch diameter bowls side-by-side. You can often find free patterns online or design your own simple rectangular or oval shape.
- 1/3 yard cotton canvas (for the top layer)
- 1/3 yard lightweight fusible interfacing
- 1/3 yard fusible fleece
- 1/3 yard waterproof fabric (vinyl, oilcloth, laminated cotton, or pleather)
- Essential sewing tools (scissors, pins or clips, thread, iron, ruler)
- Sewing machine
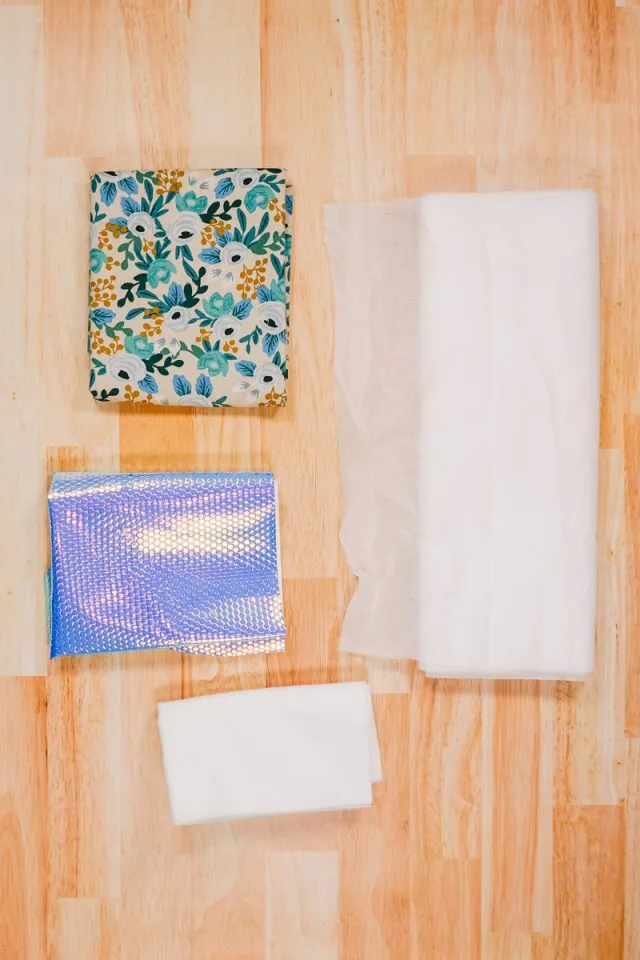 Assortment of fabrics and sewing tools laid out on a table
Instructions
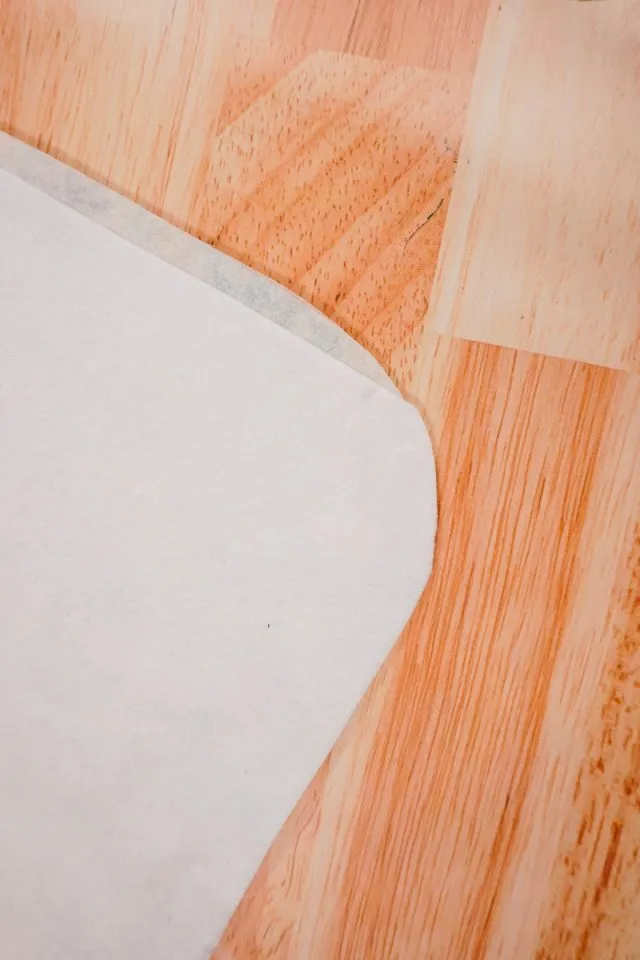
Cut Your Fabric Pieces: Using your sewing pattern, cut one piece from the cotton canvas, one from the waterproof fabric, one from the fusible interfacing, and one from the fusible fleece. Ensure all pieces are cut precisely according to the pattern’s dimensions.
Fuse the Layers: Lay the canvas fabric wrong side up. Apply the fusible interfacing to the back of the canvas, following the manufacturer’s instructions for ironing. Next, apply the fusible fleece on top of the interfacing, ensuring all three layers (canvas, interfacing, fleece) are securely fused together. This creates a strong, absorbent base for your mat.
 Fusing layers of fabric, interfacing, and fleece together with an iron
Assemble the Mat: Place the canvas-fused fabric piece right side up. Then, place the waterproof fabric piece right side down on top of the canvas piece, so their right sides are facing each other. Clip or pin all around the outside edge to hold the layers together. Pins might leave holes in vinyl, so clips are often preferred.
Sew the Edges: Using a 3/8 inch seam allowance, sew around the entire perimeter of the mat. Remember to leave a 4-inch opening along one straight edge. This opening will be used to turn the mat right side out. Make sure to backstitch at the beginning and end of your sewing to reinforce the stitches.
Sewing around the edge of the layered fabric with a sewing machine, leaving an openingTrim and Notch: Trim the seam allowance of the waterproof layer down to 1/4 inch. For any rounded corners, carefully notch or pink the curves. This step helps to reduce bulk in the seams, allowing the mat to lie flat and have smooth curves once turned.
Turn Right Side Out: Carefully turn the entire mat right side out through the 4-inch opening you left. Take extra care with the waterproof material, as some types (like vinyl) can be prone to ripping under stress. Gently push out all corners and edges to create crisp, defined lines. You can use a turning tool or a blunt object (like a chopstick) for this.
Press and Finish: Lightly press the canvas side of the mat flat with an iron to create crisp edges. Be extremely cautious not to apply direct heat to the waterproof material, as it can melt. Once pressed, edgestitch around the entire mat, about 1/8 inch from the edge. This not only gives a professional finish but also closes the opening you used for turning. Your ol roy soft and moist dog food reviews may inspire your choice of kibble, and this mat will keep the area clean.
A neatly finished DIY dog bowl mat, ready for use
 Fusing layers of fabric, interfacing, and fleece together with an iron
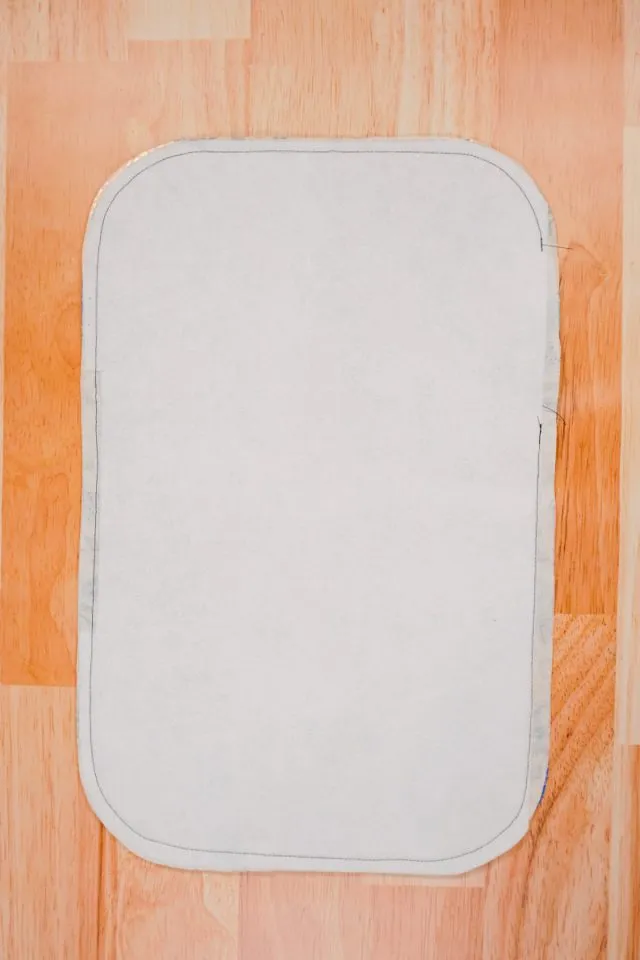 Sewing around the edge of the layered fabric with a sewing machine, leaving an opening
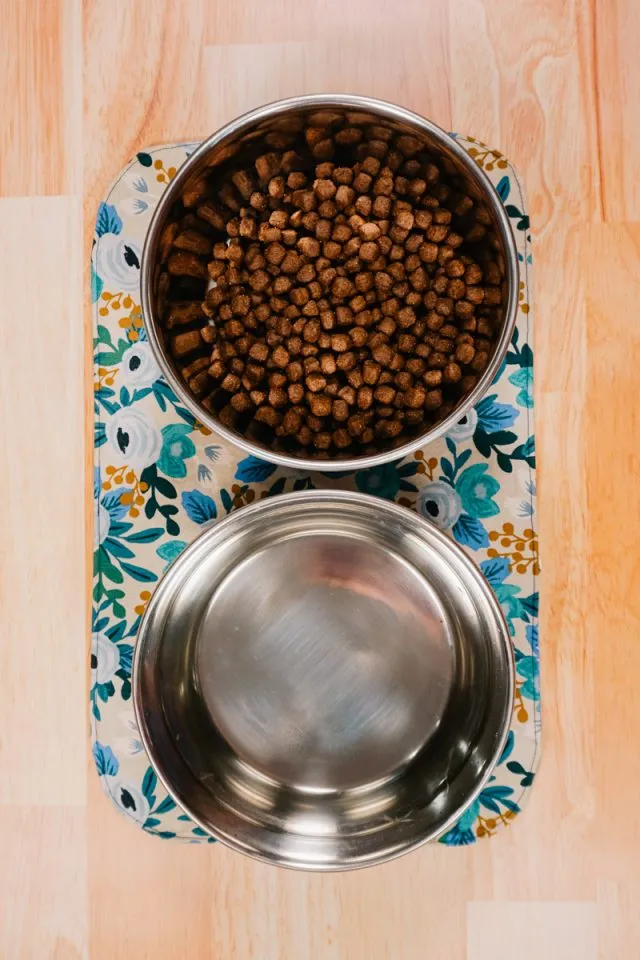 A neatly finished DIY dog bowl mat, ready for use
Care and Maintenance for Your New Dog Bowl Mat
Once your DIY dog bowl mat is complete, proper care will ensure its longevity and continued effectiveness. For daily cleaning, simply shake off any loose food particles or crumbs into a trash can. For small spills, a quick wipe with a damp cloth is usually sufficient.
When it comes to deeper cleaning, the beauty of a fabric mat is its washability. Most cotton canvas and fusible fleece combinations can be machine washed on a gentle cycle with cold water. However, the waterproof bottom layer requires special attention. If you used vinyl or oilcloth, it’s best to avoid high heat, as this can damage or melt the material. Air drying is highly recommended; simply lay the mat flat or hang it to dry. Avoid putting it in a tumble dryer, as the heat can delaminate the layers or damage the waterproof backing. Regular cleaning prevents the buildup of bacteria and ensures a hygienic eating area for your pet. With a little care, your homemade dog bowl mat will continue to protect your floors and look great for years to come.
Conclusion
A DIY dog bowl mat is more than just a craft project; it’s a practical solution to a common pet ownership challenge. By investing a little time and effort, you create a personalized, absorbent, and waterproof barrier that protects your floors from spills and keeps your pet’s feeding area tidy. This project allows for creative expression through fabric choices and provides a sense of accomplishment. Say goodbye to endless wiping and hello to cleaner floors and a happier home environment for both you and your beloved canine companion. Start your DIY dog bowl mat today and enjoy the benefits of a functional and charming addition to your pet’s space.